
Have you ever wanted to transfer an image or design to a shirt but didn’t know how to do it? With a DTF transfer, it’s easy! In this blog post, we’ll teach you how to do digital transfers so that you can start creating your own custom designs.
What Exactly Is DTF (Direct-To-Film) Printing?
DTF printing is a type of digital textile printing method that uses new technology to print designs directly onto fabric. This printing method is ideal for transferring images and designs onto shirts, bags, and other textile items.
One of the best features of DTF transfer printing is that it can be used on almost any type of fabric, including polyester, cotton, silk, and synthetic fibers like spandex and polyamide- this is similar to sublimation transfers, just that it allows a little more freedom.
The demands for DTF printing are not as stringent as those for DTG. Whether it’s someone who is already engaged in the textile industry or a total beginner, DTF offers an accessible entry point.
What Do You Need To Start DTF Printing?
To start DTF printing, you will need the following items:
DTF Printer
The printers used for this are typically called Modified DTF Printers, and they’re usually the basic 6-color ink tank models like Epson L800, L805, and L1800. The justification for using these particular types of printers is that they operate with six colors; as a result, it’s more convenient to use CMYK DTF inks since they can go into the regular CMYK tanks.
Additionally, the rollers meant to slide the page have been removed to avoid any ‘linings’ from appearing on the white layer printed onto the DTF film. One of the major advantages this has over DTG printers is that it is less costly to get.
Software
Raster Image Processor software is a type of program that allows you to print images in high quality by giving you precise control over the printing process. This is an essential piece of equipment for anyone who wants to do DTF printing, as it will help you get the best results possible.
Films
DTF printing uses PET films that are different than those used in screen printing. These have a thickness of around 0.75mm and better transfer characteristics. In the language of the market, these are often referred to as DTF Transfer Films. DTF films are available in Cut Sheets, which can be small-scale used, and Rolls for commercial setups. Another classification of PET films is based on the type of peeling that is done after the transfer. Based on temperature, they are either hot-peel or cold-peel type films.
Adhesive Powder
The DTF hot melt adhesive powder is white and functions as an adhesive to fasten the color pigments in the print to the fibers in the cloth. The DTF hot melt powder comes in different micron grades. An appropriate grade should be chosen based on demands.
Curing Oven
The curing oven melts the hot melt powder that is spread over the transfer film. If you don’t have a curing oven, a heat press machine can be used instead but should be set to no-contact mode.
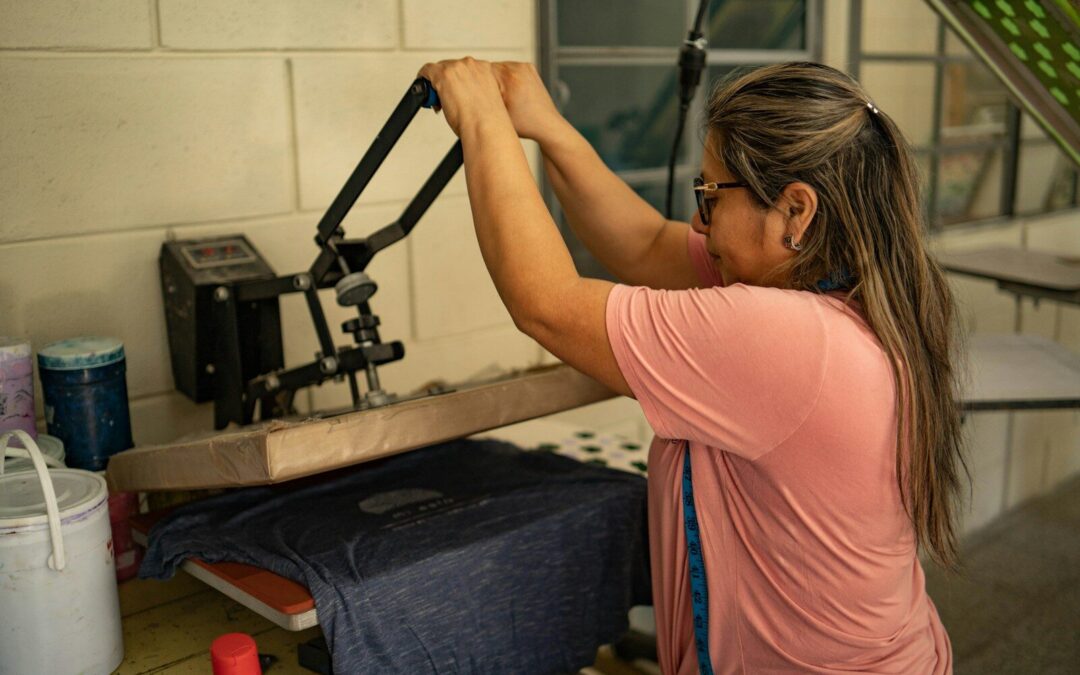
Heat Press Machine
A heat press machine is used to transfer the design from the DTF film to the textile. The machine uses high temperatures and pressure to fuse the design onto the fabric. One thing to note is that DTF is different from using heat transfer vinyl because you don’t need to cut and weed your images.
DTF Printing Inks
DTF inks are available in CMYK + White. The CMYK DTF inks can be used on their own for color prints or as a base for white and pastel colors. Oftentimes, people use sublimation ink for this, but we advise you use specialized DTF ink. White DTF ink is transparent when printed by itself but shows up brightly when printed over a dark surface. Clear DTF ink is used for varnish and lamination purposes.
Powder Shaker
An automatic powder shaker is used to evenly distribute the DTF hot melt powder over the entire print area. This ensures that there are no clumps or streaks in the powder, which can lead to uneven transfers.
As you can see, there are several things that you need in order to start DTF printing. However, once you have all of the necessary equipment, the process is relatively simple and straightforward. In the next section, we will walk you through the steps of how to do a DTF transfer.
DTF Transfer Method (Basic Steps)
Here are some steps on how to do DTF Transfers:
Print On Film
To start, insert the PET film into your printer’s trays, then print the whole image in white directly onto the PET film. Next, print the required image on top of the first layer in whatever color you desire; however, keep in mind that when you transfer your printed image from film to fabric, later on, it must be a mirror image of what you want to be displayed.
Powdering
The next step is to apply the hot-melt powder onto the film that has your image printed on it. When doing so, make sure that the ink is wet and be very careful when removing any excess powder. It’s important to evenly spread the powder all over the surface of your print on the film.
One of the most common ways to do this is to hold the film at its short edges, with its long edges parallel to the ground (landscape orientation), and powder the middle of the film from top to bottom, creating an approximately 1-inch thick layer in the center.
Take the powder and film, lay them down next to each other, and slightly bend them inwards so that they form a U with the convex surface facing you. Now slowly rock this film from left to right while gently spreading the powder across its surface. You can also use an automated shaker.
Melting The powder
In this step, you need to use a heat press or curing oven to melt the powder that was applied in the previous step. The melting process should be done carefully because if the temperature is too high, it can damage your equipment, and if it’s too low, the powder won’t melt evenly.
If you’re using a curing oven, set it to 350 degrees Fahrenheit and let the film warm up for about 10 minutes before starting the transfer process. If you’re using a heat press machine, make sure that it’s set to no-contact mode and set the temperature to 375 degrees Fahrenheit.
Pre-pressing
In this step, you will need to place the fabric onto the heat press plate and cover it with a Teflon sheet. Once the fabric is in place, turn on the heat press machine and set it to 375 degrees Fahrenheit. After that, let the machine warm up for about 8 minutes.
Transferring
After the fabric and machine have been pre-pressed, it’s time to transfer the design from the film onto the fabric. For this, you will need to align the design on the film with the fabric on the heat press platen. Once everything is properly aligned, place the top plate of the heat press machine onto the fabric and film.
Now let the machine do its job for about 30 seconds to 1 minute. Once the time is up, open up the machine and peel off the Teflon sheet. If everything has gone according to plan, you should now see your transferred design on the fabric.
Step 6 – Cold Peel
In this step, you need to let the fabric cool down before peeling off the film. If you try to peel off the film while it’s still warm, there is a chance that you will damage the design. So be patient and wait for the fabric to cool down completely before proceeding.
Step 7 – Post-pressing
After the fabric has cooled down, you need to place it back onto the heat press machine and set the temperature to 375 degrees Fahrenheit. Once the machine is heated up, press the fabric for about 10-15 seconds. This step is important because it will help set the design on the fabric and make it more durable.
Pros And Cons Of Direct To Film Printing
Below, we list some of the pros and cons of direct-to-film printing:
Pros
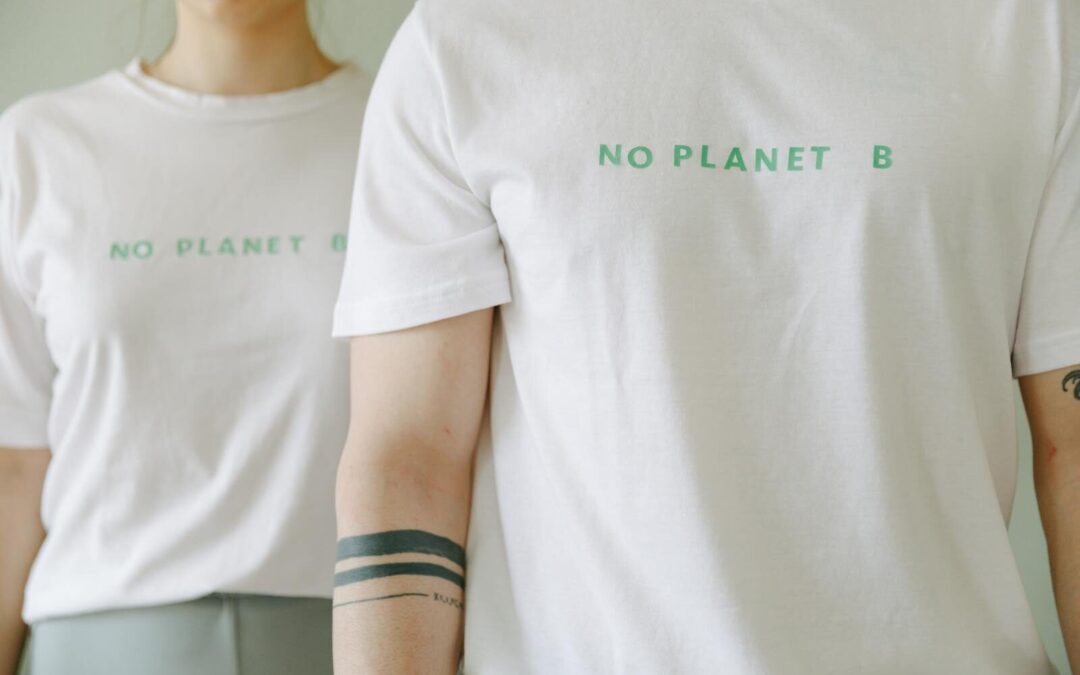
Works with almost all types of fabrics: One of the main advantages of direct-to-film printing is that it can be used on almost all types of fabrics, including polyester, cotton, and Lycra.
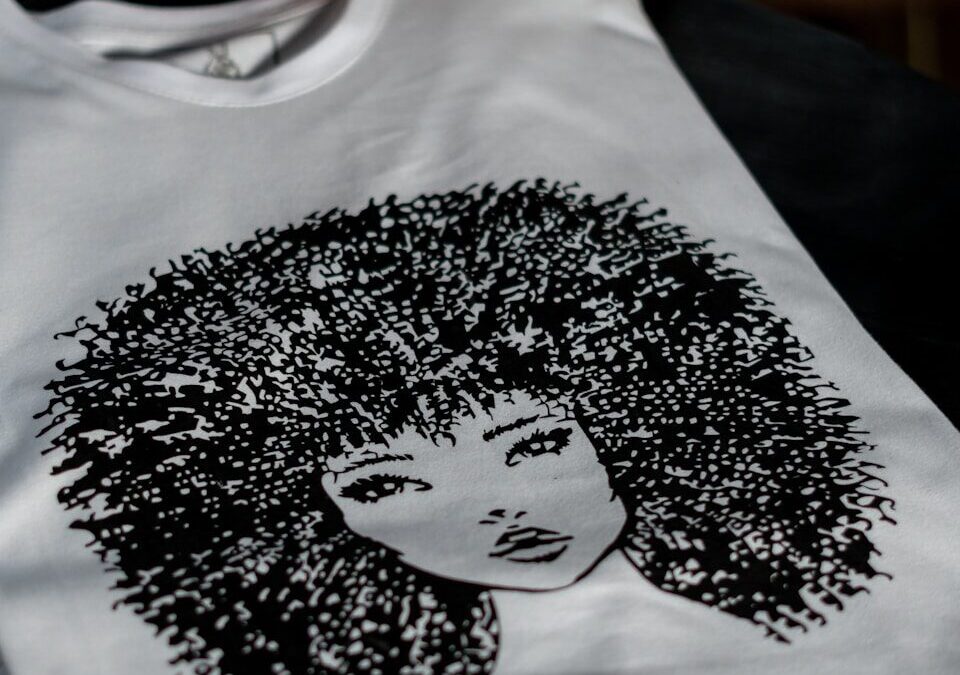
Produces high-quality prints: Another advantage of this printing method is that it produces high-quality prints that are sharp and have vibrant colors.
Does not require pre-treatment: Since direct-to-film printing doesn’t require pre-treatment, it’s a faster printing method than other methods that do require pre-treatment.
Efficient: Direct-to-film printing is also faster and less tedious than DTG printing, which is another popular printing method.
Less Expensive: As we mentioned earlier, direct-to-film printing is a less expensive printing method than DTG printing.
Cons
DTF Prints don’t feel equal when touched: One of the main disadvantages of direct-to-film printing is that the designs usually don’t feel equal when touched. This is because the design is printed on a film and then transferred to the fabric, which can cause the design to feel raised.
Can be tricky to align the design: Another disadvantage of direct-to-film printing is that it can be tricky to align the design on the film with the fabric on the heat press platen.
Conclusion
As you can see, there are both pros and cons to direct-to-film printing. However, we believe that the pros outweigh the cons and that direct-to-film printing is a great printing method for those who are looking for a fast, efficient, and less expensive way to print their designs onto fabric.