
Are you looking for a way to easily add some personality to your clothing and accessories? If so, custom iron-on/heat press transfers may be the perfect solution for you. Available in a wide range of designs, fonts, and colors, these transfers allow you to create one-of-a-kind pieces that reflect your personal style. Best of all, they’re easy to use! Want to give them a try? Here’s everything you need to know about custom iron-on transfers.
What Are Iron-on Transfers
This is a kind of heat transfer that makes use of a special kind of transfer paper or decal. This type of paper is coated with a heat-activated adhesive or chemicals. The chemicals used in the paper, along with the heat generated by an iron, cause the paper to bind with the fabric’s fibers. Summarily, the design is transferred to the cloth when a heat press is applied. Iron-on transfer paper, despite being distinct from ordinary paper, may be used with a regular printer to print designs before usage.
Types Of Iron-On Transfer Paper
It is important to use the right type of transfer paper to ensure a high-quality transfer. The most common types of transfer paper are:
Inkjet Transfer Paper
Most people use inkjet printers to print transfer paper. They work with ink cartridges, so if you can’t tell whether or not you have an inkjet printer, try googling your model to see if it uses an ink cartridge. Inkjet printers are ideal for printing uncomplicated designs without too many intricate details, like logos, texts, and basic graphics.
The type of transfer paper available for these printers is readily accessible. If you have an inkjet printer, you only need to worry whether any transfer paper you buy will work with it.
Laserjet Transfer Paper
Laserjet printers can be used to print more intricate transfer designs. They work with toner cartridges, a kind of powder used to produce the image on the paper. This type of printer is best for large-scale projects where you need to print lots of transfers at once.
Light Transfer Paper
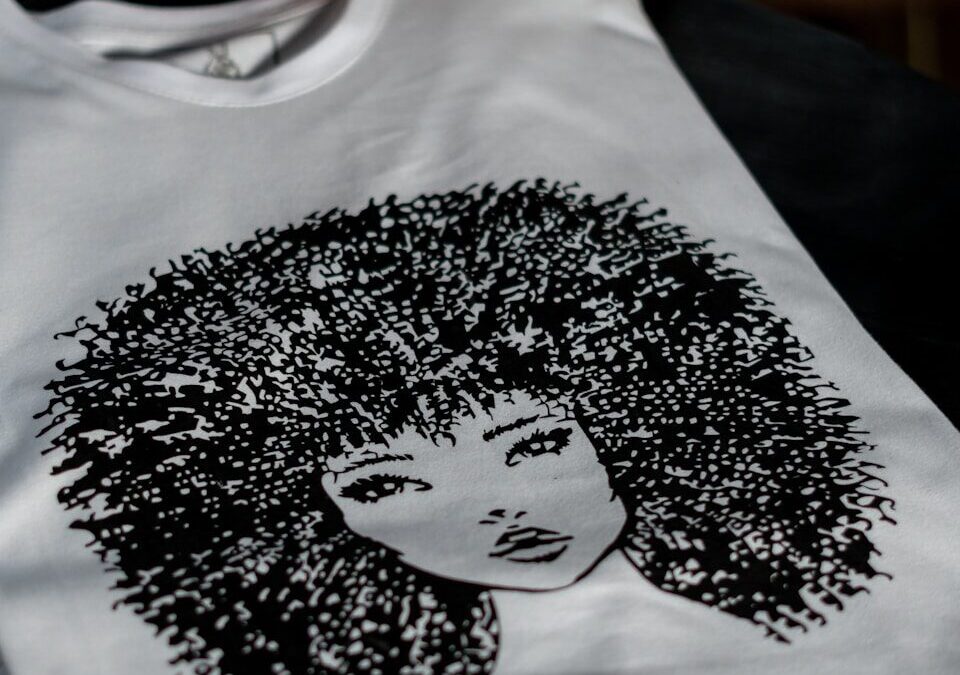
This transfer paper is also known as t-shirt transfer paper because it’s commonly used to print images or designs onto t-shirts. As the name suggests, light transfer paper is designed to be used on light-color fabric. The colors of your design will show up brightly against a light background.
Dark Transfer Paper
Dark transfer paper is the opposite of light transfer paper—it’s meant to be used on dark-colored fabrics. The colors of your design will show up as a reverse image, so keep that in mind when creating your design.
Custom Iron-on Instructions
Below, we give a detailed guide on how to use custom iron-on transfers, no matter what type of printer or project you’re working on. Also, always remember to follow the instructions that come with your transfer paper for the best results.
Make A Design
To make custom heat transfers, you must select a design. You may get ready-made iron-on stickers at your local craft shop or download them from the internet. You can also create your own design on the computer using design software if you’re feeling daring.
It’s also important to point out that you may not be able to use certain photos from the internet on a t-shirt if you don’t have legal rights to do so and if they aren’t copyrighted. If someone sees you wearing a design that they created, for example, on social media, they could accuse you of copyright infringement.
If you’re not sure whether a design is copyrighted or not, you can always contact the artist and ask for permission to use it before moving forward with your project.
Creating your own design is far safer since you have more control over the design. Several applications can be used to make your iron-on designs. Some of them include Adobe Photoshop and Canva. Both have a free version and can help you create accurate designs that match your desired or brand color.
Edit Your Design
After you’ve selected or created your design, it’s time to get it ready for printing. If you downloaded your design from the internet, check the quality before printing to make sure that it’s high enough resolution. If not, the final product may appear fuzzy or pixelated.
If you’re using your own design, you may need to edit it to get the perfect look. This is where design software comes in handy. If you’re using a program like Photoshop, you can use the clone stamp tool to get rid of any background objects you don’t want in your design. You can also use the levels tool to adjust the contrast and color of your image so that it will print well on the transfer paper.
You’ll also need to mirror light-colored fabrics’ designs before printing them as images onto the fabric, especially if the design has text. If you don’t do this, then your image will appear backward on whatever you’ve transferred it to. With dark clothing transfer, there’s no need to mirror the image. Once you’re happy with your design, save it as a JPEG file so that you can print it later.
Use The Right Kind Of Paper
One of the most common mistakes people make when using transfer paper is not using the right kind. As we mentioned above, there are different types of transfer paper. If you use the wrong one, your design will either not show up at all or appear backward. So, be sure to select the right type of paper before printing your design.
To figure out which type you need, hold your fabric up to a light source. If the fabric is see-through, then you’ll need white transfer paper; if it’s not, then you’ll need dark transfer paper.
Another way to tell is by holding the shirt up to your face and seeing if you can read what’s printed on it through the fabric. If you can, then it’s light-colored, and you’ll need white transfer paper; if not, then it’s dark-colored, and you’ll need dark transfer paper.
Trim The Transfer Paper
After you’ve printed your design onto the transfer paper, it’s time to trim it down to size. First, cut around the outside edge of your design so that you have a clean border. Then, cut away any excess paper that doesn’t have ink on it. Be as precise as possible when trimming to avoid wasting any of the transfer paper.
Position The Design On The Clothing
Now it’s time to position your design on the clothing. Lay your shirt out flat on a hard surface.
Before you start printing, slip a piece of cardboard inside the clothing. This way, the design will only be printed on the areas you want it to be and not on other parts of the fabric. Position your design where you want it before applying heat. If the placement is crooked or incorrect, you won’t be able to fix it.
Also, note that if you’re using dark clothing with opaque transfer paper, remove the backing before applying heat. On the other hand, use transparent transfer paper for light-colored clothing but keep the backing on in this instance.
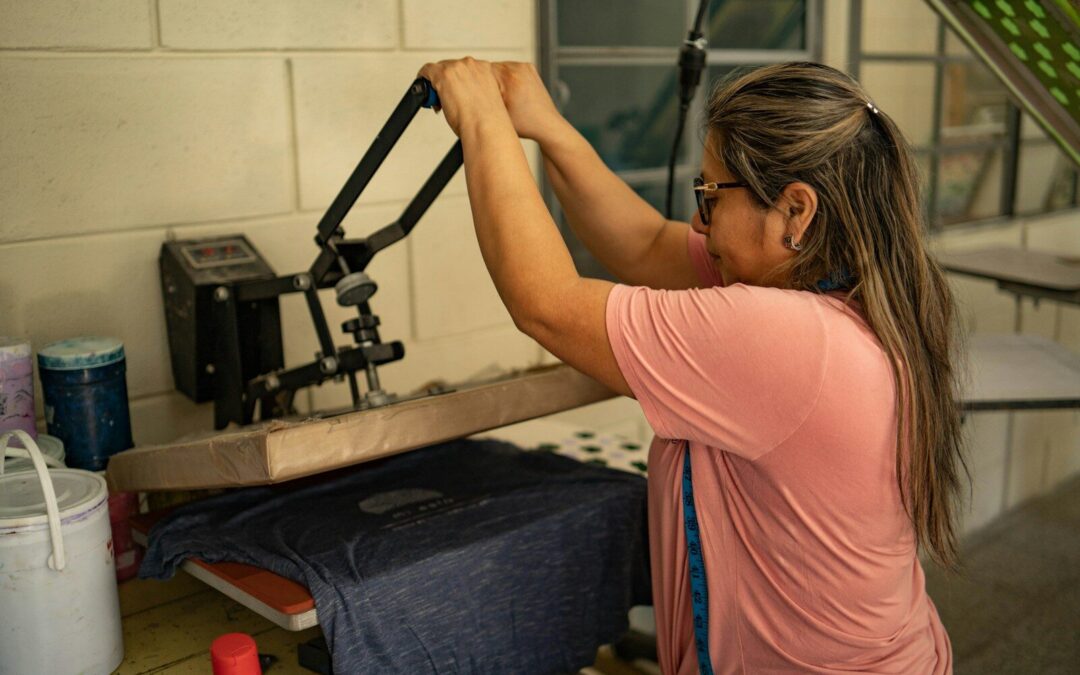
Iron The Design Onto The Clothing
After you’ve positioned your design, it’s time to iron it onto the clothing. If you’re using regular transfer paper, set your iron to the hottest setting that’s safe for the fabric you’re using.
Place your shirt on an ironing board and position the design where you want it. Cover the design with a piece of parchment paper or a thin cotton cloth. This will prevent the design from sticking to the iron.
Iron over the design for 30-60 seconds, applying firm pressure. Be sure to move the iron around so that all areas of the design are heated evenly.
What Kind Of Fabric Works Best For Custom Iron-ons?
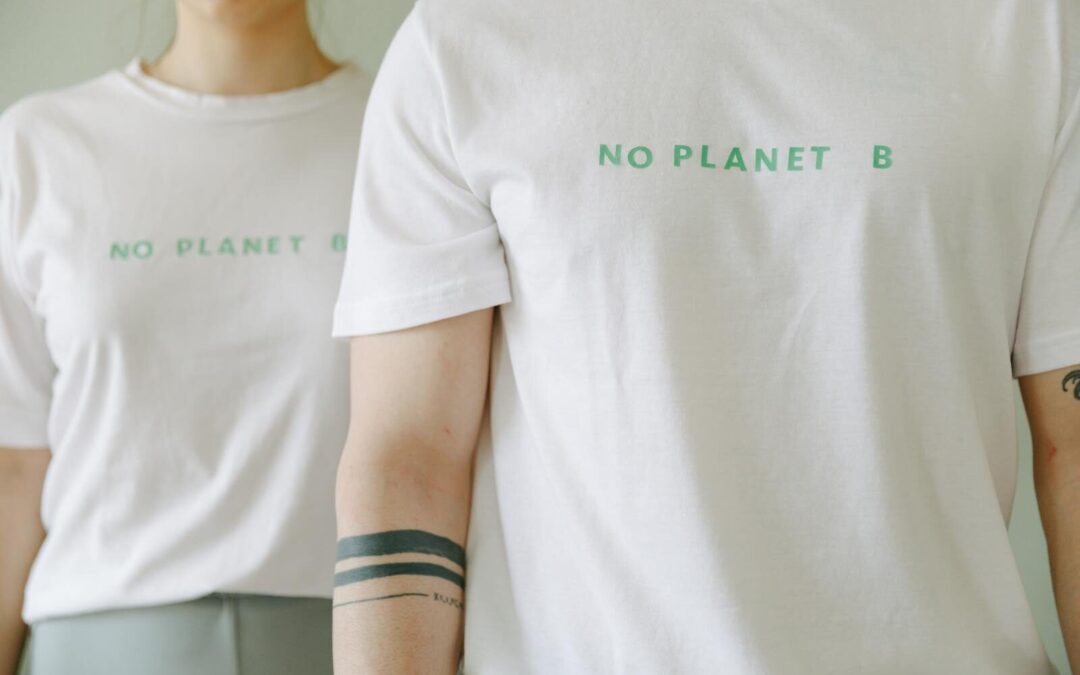
You’ll achieve the best results with natural fabrics like cotton and polyester or synthetic fibers such as a cotton/poly blend. This is because that’s what most transfer papers are designed for in the first place. So next time you want to customize common items around your house, like t-shirts, aprons, and tote bags made from a canvas-like material, use this.
Remember that you will need to use a high heat setting when using transfer paper, so make sure to avoid any type of fabric that can’t handle heat well. This is especially important for delicate fabrics such as wool and silk.
Conclusion
Iron-ons are a great way to add custom transfers to your clothing. With a few simple steps, you can take any design and make it into a wearable work of art. Just be sure to select the right type of transfer paper for your project, and you’ll be well on your way to creating something amazing.