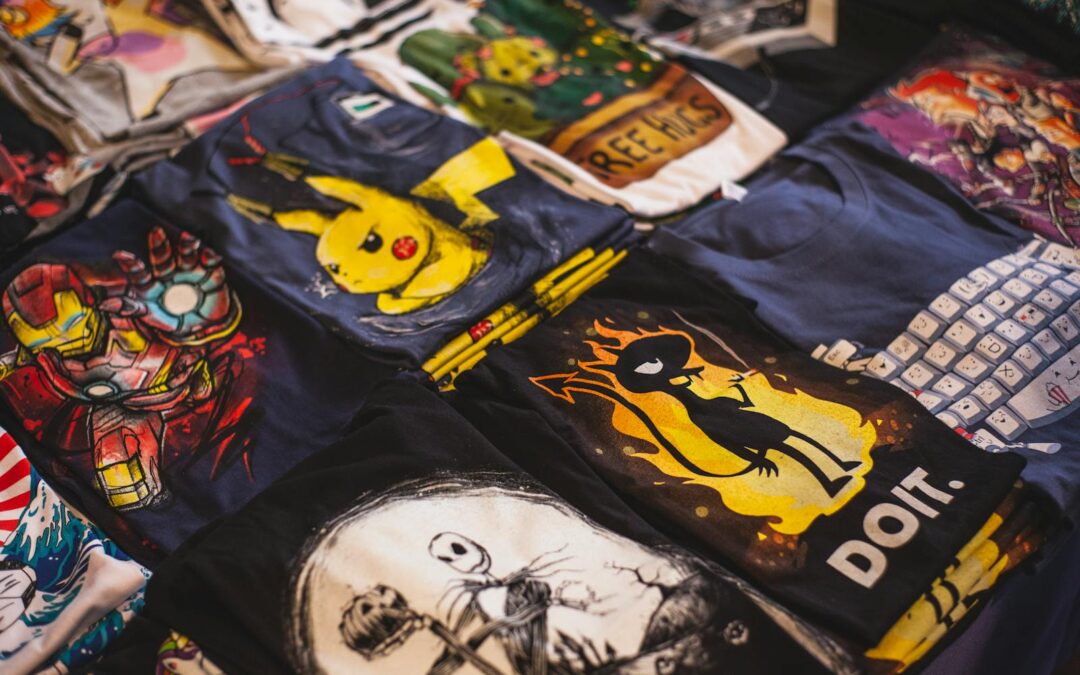
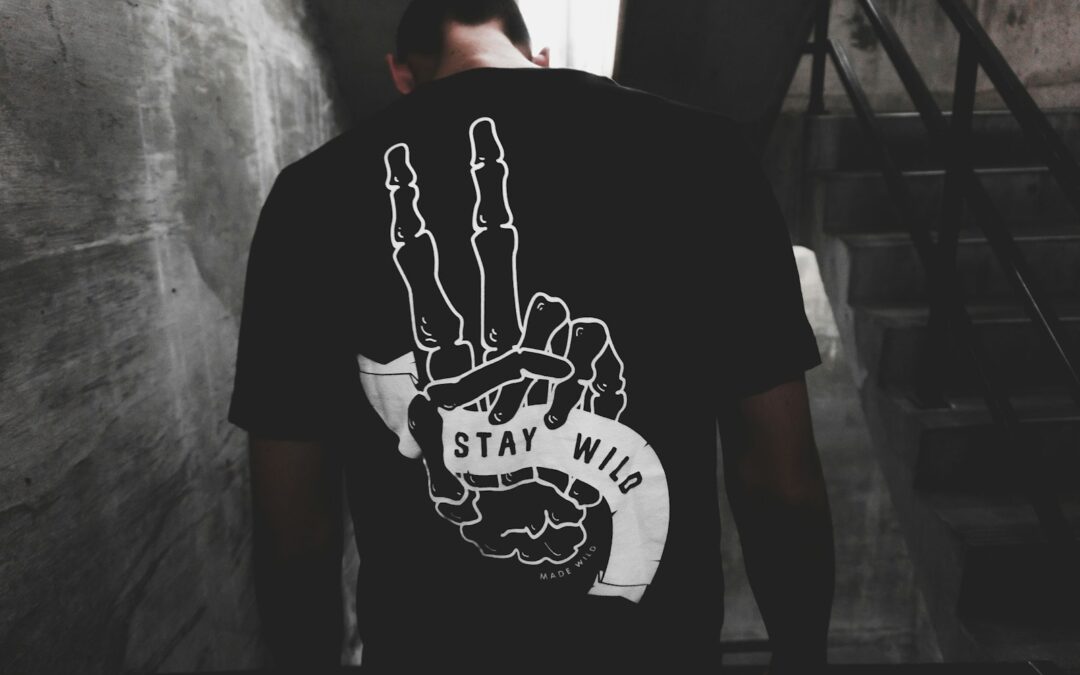
Screen printing can be a fun, creative way to express yourself, and it’s a great option for printing custom shirts, hats, and other items. If you’re interested in screen printing but don’t have access to a professional screen printing shop, don’t worry – you can create your own designs at home! In this article, we’ll explain how to create custom screen-printed shirts. and designs using some simple procedures and supplies.
The Custom Screen Printing Process
The goal of this print method is to stretch tightly woven material and block specific regions of the cloth, allowing only the ink (or paint) that has passed through the unblocked areas to leave. The blocking, or resist, produces a negative image on the screen depicting what you want on the printed surface. Ages ago, when screen printing was first discovered, silk was the fabric of choice. Over time, silk has been replaced by synthetic materials.
Traditional screen printing generally uses a frame to keep the screen in place, which can be made of wood, metal, or plastic. It’s important to use a material that won’t warp or distort the screen so it can be reused. Most screen printing techniques involve using a squeegee to evenly push the printing medium through the screen onto the surface you’re printing on.
This occurs because the squeegee is generally drawn towards the printer during the print stroke. Since it’s a binary operation, if you’re trying to print with black ink, you can’t directly print gray. Even though this presents some challenges, there are certain methods that have been developed to imitate fades and gradations pretty well.
To create colors like gray or pink from red, halftone images are made with dots that are sized according to how much of that color should be in the final mix. This also allows for mixing colors while printing. For example, if we print a 50% halftone of red on top of a 50% halftone of blue, it will look purple to viewers.
To create multicolor prints, you need a screen for each color (apart from when using chromatics to produce interesting visual effects by the mixture of various colors of ink or paint on the screens). Generally, a printing company that deals with color images will have a screen press with four screens placed so that the registration mark on the print surface is accurate for each screen.
Items You Will Need For Screen Printing
Here are some items you will need for custom transfers:
A Screen
You will need a screen that is made of polyester or nylon. The mesh count will determine the quality of your printing job. A lower mesh count will have larger holes and not print as detailed of an image. Conversely, a higher mesh count will have smaller holes and produce a more detailed printing. For most designs, an 80 to 110 mesh count will work just fine.
Screen Printing Frame
You will also need a screen printing frame to hold your screen in place while you’re printing. A wood or metal frame will work, but avoid using a plastic frame as it may warp under the high tension of the screen.
Squeegee
To push the ink through the screen and onto the surface you’re printing on, you will need a squeegee. A squeegee is a rubber blade that is mounted on a handle. The size of the squeegee will depend on the size of your screen.
Ink
You will need ink that is specifically made for screen printing. Screen printing inks are thicker than regular inks, so they will not clog the screen or dry out as quickly.
Tape
You will need tape to secure the edges of your design to the screen. This will prevent your design from moving when you’re printing.
Stencil
You will need a stencil to create your design on the screen. You can either buy a stencil or create your own.
Printing Surface
You will need a surface to print on. This can be fabric, paper, wood, glass, or metal.
The Process Explained

There are different ways to make a screen: by hand, with a vinyl cutter, or with photo emulsion.
By Hand
This is the most low-tech way to create a screen, and it’s also the most forgiving. You can make mistakes and still end up with a usable screen. You’ll need some patience for this method, as it will take longer to create your t-shirt design than with the other methods.
Vinyl Cutter
Using a vinyl cutter is a medium-tech way to create a screen. A vinyl cutter allows you to create very precise designs, but you’ll need to be able to use the vinyl cutter and transfer your design onto the screen without making any mistakes.
Photo Emulsion
This is the most high-tech way to create a screen, and it’s also the most difficult. You’ll need to be able to mix the photo emulsion and expose it to light without making any mistakes. If you make a mistake, you might have to start over from the beginning.
After choosing your method, you’ll need to create your design. If you’re painting by hand, you can freehand your design or use a stencil. If you’re using a vinyl cutter or photo emulsion, you’ll need to create your design in a program like Adobe Illustrator and then transfer it to your screen.
Once you have your own artwork or design ready, it’s time to start painting the resist material onto the screen. If you’re painting by hand, use a brush to paint the resist material onto the screen. Be sure to cover the entire screen with an even layer of paint. If you’re using a vinyl cutter, follow the instructions that came with your machine to cut your design out of the resist material. If you’re using photo emulsion, follow the instructions that came with the product to mix the photo emulsion and apply it to the screen.
After you’ve applied the resist material, it’s time to cure it. This step is necessary in order for the resist material to adhere to the screen. If you’re using a water-based resist material, you can cure it by letting it air dry for 24 hours. If you’re using an oil-based resist material, you can cure it by setting it in the sun for 30 minutes or putting it in an oven at 200 degrees Fahrenheit for 10 minutes.
Once the resist material is cured, it’s time to start printing! Choose your ink and squeegee, and you’re ready to go.
Things To Know Before T-Shirt Screen Printing

1. Choose the right fabric: The type of fabric you choose will affect the quality of your print and how long it lasts.
2. Pre-treat your fabric: This step is important to ensure that your print adheres to the fabric and doesn’t fade over time.
3. Choose the right ink: As with fabric, the type of ink you use will affect the quality of your print and how long it lasts. Screen printing inks are thicker than regular inks, so they won’t clog the screen or dry out as quickly.
4. Create a stencil: You can either buy a stencil or create your own. If you create your own, you’ll need to choose the right material and cut it carefully so that your design comes out clean.
5. Choose the right screen: The type of screen you choose will affect the quality of your print and how long it lasts. There are two main types of screens: mesh and photo emulsion. Mesh screens are cheaper and easier to use, but they’re not as durable as photo emulsion screens.
6. Prep your workspace: You’ll need a clean, flat surface to work on. Cover your workspace with newspapers or a drop cloth to protect it from ink stains.
7. Assemble your supplies: In addition to fabric, ink, and a screen, you’ll also need a squeegee, tape, and a piece of cardboard.
8. Print your design: Once you’ve set up your screen, it’s time to start printing! Slowly pull the squeegee across the screen, using even pressure. Be sure to overlap each stroke so that the ink is evenly distributed.
9. Clean up your mess: Once you’re done printing, clean your workspace and wash your hands thoroughly to remove any ink stains.
Best Fabric For Custom T-Shirt Printing
The best materials for screen-printed t-shirts include natural fabrics like cotton and linen. Synthetic fabrics like polyester and nylon can also be used, but they’re not as absorbent as natural fabrics and can be more difficult to work with.
Conclusion
Screen printing is a great way to add unique designs to fabric. With a little practice, you’ll be able to screen print like a pro! Just remember to choose the right supplies, prep your workspace, and take your time. With a little patience, you’ll be able to create beautiful printed shirts that will last for years.


