Sharp, vibrant DTF prints start with proper artwork prep: 300 DPI resolution, RGB color mode, a true transparent background, and line thickness of at least 4 pixels. Reviewing these details before uploading a file reduces reprints, sharpens fine detail, and helps colors transfer accurately onto the final garment.
Great DTF prints don’t begin at the heat press. They begin at the design file. I’ve learned this lesson more than once—usually after pulling a slightly blurry logo off a fresh gang sheet and wishing I’d caught the problem before hitting “order.” Even the best DTF commercial printer in the business can’t rescue artwork that was set up incorrectly from the start.
That’s the thing about direct-to-film printing: it’s remarkably forgiving on fabric type, but far less forgiving on file quality. A design that looks crisp on a laptop screen doesn’t automatically translate into a crisp, durable transfer. Resolution, color mode, transparency, and line weight all play a role in how the finished product looks and feels.
This guide walks through the exact checklist I use before submitting artwork for DTF prints, why each step matters, and how a supplier like Limitless Transfers—a back-to-back 2024 and 2025 award winner for DTF print quality—makes it easier to catch mistakes before they become expensive ones.
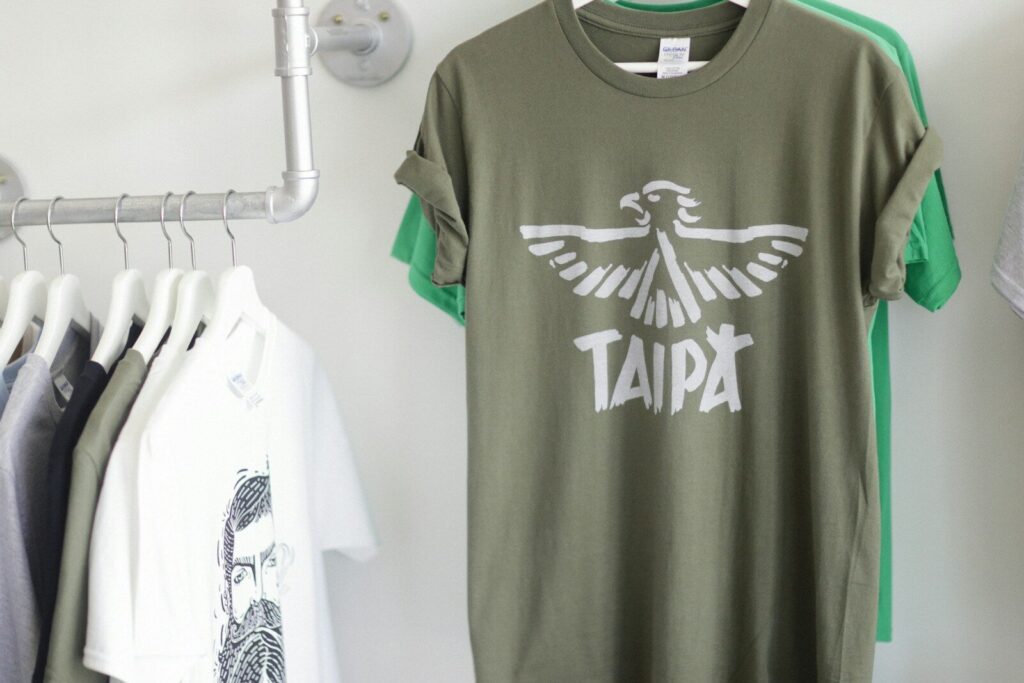
Photo by Alexey Demidov on Unsplash
Why Artwork Preparation Matters for Better DTF Prints
DTF printing can reproduce nearly unlimited colors, fine detail, and complex designs. But that flexibility only shows up in the final product if the source file supports it. Poor artwork preparation shows up as:
- Blurry or pixelated edges
- Colors that print differently than expected
- Unreadable small text
- Thin lines that break down during pressing or washing
- Inconsistent results across a print run
Preparing artwork correctly the first time isn’t just about appearance. It also saves money. Reprints, wasted film, and shipping delays all cost more than the few extra minutes it takes to review a file before uploading. Clean files also move through production faster, since there’s no back-and-forth needed to fix errors.
Helpful resource: For a deeper look at how color mode affects your files, Adobe’s guide to color modes is a solid primer.
Start With the Correct Print Size
Before touching resolution or color settings, I always design for the size the artwork will actually print at. Enlarging a small graphic after the fact almost always introduces blur or pixelation, since there’s no new detail for the software to work with—it’s just stretching what’s already there.
This means measuring the actual placement first. A full-back print on an adult hoodie needs a completely different canvas than a small left-chest logo, a sleeve design, a neck label, or a pocket graphic on a tote bag. Whenever possible, set up the canvas at the final print dimensions rather than guessing and scaling later.
Use High-Resolution Artwork (300 DPI Recommended) For Long Lasting Prints
Resolution is where most avoidable DTF printing problems start. I aim for 300 DPI at the final print size, since anything lower—especially the 72 DPI common in web images and screenshots—tends to look soft or blocky once it’s blown up to garment size.
This is also where raster and vector files behave differently. Vector artwork (like AI or PDF files) scales without losing quality, since it’s built from mathematical paths rather than fixed pixels. Raster files (like PNG, PSD, or TIFF) are pixel-based, so resolution and canvas size need to match the intended output from the start.
A quick rule of thumb: if an image came from a screenshot, a low-quality download, or a social media post, it’s probably not print-ready without some rework.
Helpful resource: Adobe’s image resolution guide explains the relationship between DPI, pixel dimensions, and print size in more detail.
Design in RGB Color Mode
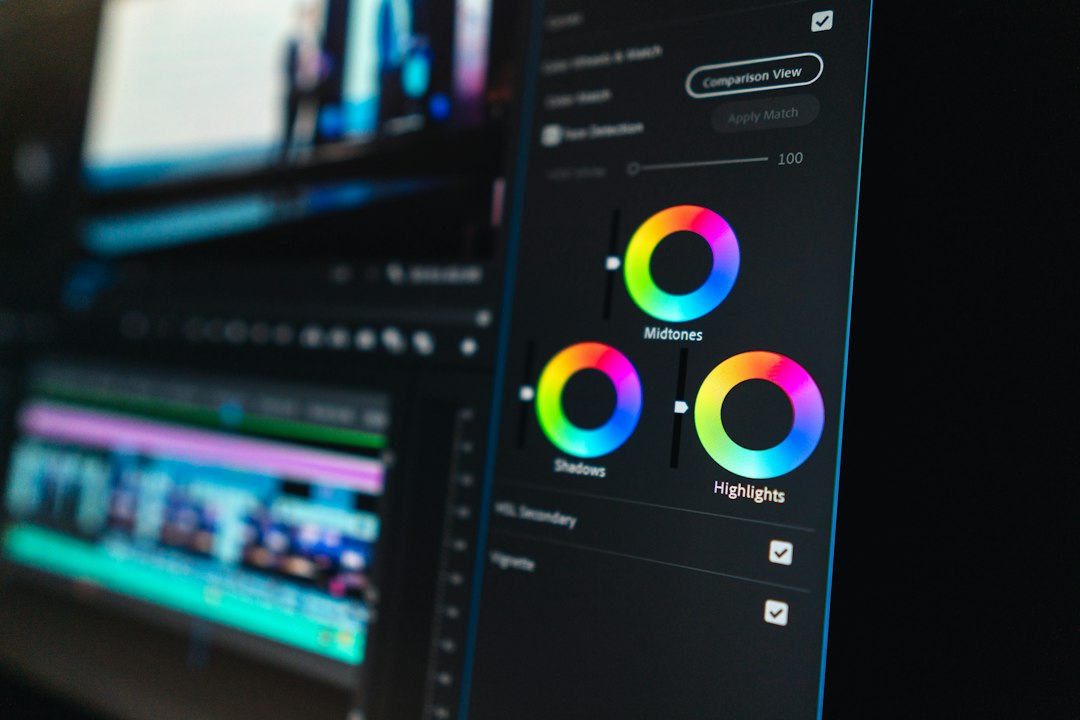
I’ve found that RGB color mode is the better starting point for DTF artwork, even though CMYK is the traditional standard for print. Most modern DTF workflows—including Limitless Transfers’ expanded gamut CMYK+RGBO+W printing—handle the RGB-to-print conversion automatically, which tends to preserve more vibrant color than manually converting files to CMYK beforehand.
If older artwork was originally built in CMYK, it’s worth double-checking how those colors appear once converted, since some vibrancy can be lost in translation. Keeping source files in RGB from the beginning avoids that extra step entirely.
Create a True Transparent Background
This is one of the most common issues I catch before submitting a design. A “transparent-looking” background isn’t the same as an actual transparent background. If the file was exported with a white fill instead of true transparency, it prints as a solid white box around the design—not exactly the clean, floating logo look most people expect.
Before exporting, I check for:
- Hidden background layers that weren’t deleted
- Flattened files that merged transparency into a solid color
- Correct export settings for PNG files, which support transparency natively
Helpful resource: Canva’s transparent background guide is a straightforward walkthrough for anyone using Canva to build DTF-ready files. For the technical side of how transparency works in PNG files, the W3C’s PNG specification covers the file format in depth.
Avoid Semi-Transparent Effects Whenever Possible
Soft shadows, glows, heavy gradients, and low-opacity effects can look great on screen but don’t always reproduce cleanly in DTF printing. Semi-transparent pixels sit in a gray area between “print this” and “don’t print this,” which can lead to unexpected results.
When a design calls for a gradient or fade effect, converting it to halftone dots is generally a safer bet than relying on a smooth transparency fade. Solid, well-defined colors reproduce more predictably and tend to hold up better over time.
Make Sure Thin Lines Are Thick Enough
Fine detail is one of DTF printing’s strengths, but there’s a limit. I keep line thickness at a minimum of 4 pixels at final print size. Anything thinner risks breaking apart during the transfer process or wearing away faster with normal use.
This matters most for:
- Fine outline strokes
- Small or intricate text
- Delicate border details
- Thin connecting lines in logos
If a design has extremely fine detail, simplifying it slightly—thickening key lines or removing unnecessary micro-detail—usually produces a cleaner, more durable result than trying to preserve every hairline.
Zoom Out and Review the Artwork at Actual Print Size
It’s easy to get lost zoomed in at 400% while fine-tuning a design, but that’s not how the finished print will actually look. Before submitting any file, I zoom back out to the artwork’s true print dimensions and take a fresh look at:
- Small text legibility
- Outline consistency
- Logo clarity
- Color balance across the whole design
- Overall borders and spacing
This one habit catches more issues than any other step in my process. What looks perfect zoomed in can look completely different at actual size.
Understanding How DTF Printing Works
It helps to understand what happens after a file is submitted. DTF, or direct-to-film printing, works in a few stages: the design prints onto a PET film using specialized premium ink, a hot-melt adhesive powder is applied over the wet ink, the film is cured, and finally the design is heat pressed onto the garment.
Because the design is fully printed before it ever touches fabric, DTF supports unlimited colors without the setup costs associated with screen printing. A white underbase—automatically added during printing—helps colors stay vibrant on dark garments, since printing directly onto colored fabric without it would dull the final look considerably.
Helpful resource: Printing United Alliance is a good ongoing resource for anyone who wants to go deeper into the broader custom apparel decoration and printing industry.
What Materials Can Premium DTF Transfers Be Applied To?
One of the reasons DTF has become so popular is material flexibility. Properly printed transfers work across:
- 100% cotton
- Polyester
- Cotton-poly and tri-blends
- Nylon
- Spandex
- Leather
- Canvas
- Denim
- Non-woven fabrics, UV DTF transfers, neoprene, and even wood
This range covers everything from classic t-shirts and hoodies to tote bags, hats, and novelty items. Dark garments rely on that white underbase mentioned earlier, while lighter fabrics generally show accurate color without any extra adjustment.
Best Heat Press Settings for Long-Lasting DTF Prints
Artwork prep gets a transfer print-ready, but application still matters just as much. General guidelines for pressing DTF heat transfers:
- Temperature: around 310°F
- Time: 12–15 seconds
- Peel method: warm peel or cold peel, depending on the specific transfer’s instructions (Limitless Transfers uses true hot-peel technology, which speeds up production for larger runs)
- Repress: an additional 5 seconds after peeling, to lock in adhesion
Even, consistent pressure across the full design matters here too. A commercial heat press generally delivers more reliable results than a household iron, particularly on larger prints where even pressure is harder to maintain by hand.
How Long Do DTF Prints Last?
With correct application and artwork prep, DTF transfers are genuinely durable. Many hold up beyond 50 washes, and high-quality DTF transfers applied correctly often exceed 100. They resist cracking and peeling far better than older transfer methods, and colors tend to stay vibrant well beyond what most people expect from a printed garment.
That said, DTF prints sit slightly less flush with the fabric than direct-to-garment printing, since the design is applied as a layer on top rather than absorbed into the fibers. Washing garments inside-out in cold water and avoiding high heat when drying both help extend the life of any printed design.
Helpful resource: For general fabric care guidance that applies to printed garments, the American Cleaning Institute has practical, brand-neutral washing tips.
Why Custom Gang Sheets Save Money
Gang sheets—single film sheets packed with multiple designs—are one of the simplest ways to cut costs on DTF prints. Instead of ordering one small transfer at a time, a gang sheet might combine several logos, neck labels, sleeve graphics, and left-chest designs of different sizes onto a single sheet.
This approach makes sense for:
- Print shops running multiple client orders at once
- Etsy sellers offering various designs
- Apparel brands producing small batches
- Schools and sports teams ordering spirit wear
- Promotional companies filling event orders
Since pricing is often based on sheet length rather than per-design, packing a sheet efficiently (with tightly cropped artwork) stretches the budget further.
Ordering Ready To Press Custom DTF Transfers Is Easier Than Ever
Once artwork is ready, the process for DTF transfer orders shouldn’t add friction. Limitless Transfers, for example, offers a few different paths depending on how comfortable someone is with design software:
- Upload a ready-to-print gang sheet file directly
- Use the online Gang Sheet Builder to arrange designs without needing Photoshop or Illustrator
- Order custom DTF transfers by size, uploading individual PNG designs for standard transfer dimensions
There are no minimum order requirements and no setup fees, so it’s realistic to order a single transfer or run a large batch through the same process. Most orders ship the next business day, and orders placed before noon EST typically ship same day. Orders over $50 qualify for free UPS Ground shipping, and first-time customers can request free sample packs to test high quality transfers before committing to a larger order.
How I Double-Check Every Design Before Ordering
Before any file goes out the door, I run through a final check:
- Resolution confirmed at 300 DPI
- Color mode set to RGB
- Background is truly transparent, not just white
- Line thickness meets the 4-pixel minimum
- Canvas sized to match final print dimensions
- No stray hidden layers left in the file
- Spelling and text double-checked
- Correct file format selected for export
Tools like the Limitless Order Builder and Print Size Visualizer make this step easier by flagging common issues and showing how a design will actually look at true print size before it’s submitted. That kind of visual confirmation catches mistakes that are easy to miss when staring at a zoomed-in canvas.
Helpful resource: For designers working with color-critical projects, Pantone’s color education resources offer useful context on how color perception and reproduction work across different mediums.
Final Thoughts
Better artwork produces better DTF prints—it’s really that simple. Resolution, color mode, transparency, and line thickness aren’t just technical checkboxes; they’re the difference between a design that looks slightly off and one that looks professional from the first press to the fiftieth wash.
Whether it’s a single custom shirt or a full gang sheet running through production, a few extra minutes reviewing a file before uploading pays off. Tools like the Limitless Order Builder and Print Size Visualizer make that review process faster and catch the kinds of small errors that are easy to miss otherwise.
Frequently Asked Questions
What does DTF printing mean?
DTF stands for direct-to-film. It’s a printing process where a design is printed onto PET film, coated with a hot-melt adhesive powder, cured, and then heat pressed onto fabric. DTF supports unlimited colors, fine detail, and a wide range of fabric types.
Is DTF better than heat press?
These aren’t competing options—a DTF transfer is the printed product, and a heat press is the tool used to apply it. DTF transfers require heat and pressure (typically from a commercial heat press) to bond properly to fabric.
How long do DTF prints last?
With correct application and proper care, vibrant DTF transfers commonly last 50 or more washes, and premium transfers applied correctly can exceed 100 washes. They resist cracking, peeling, and fading better than many older transfer methods.
How much does a DTF print cost?
Cost depends on print size, quantity, and whether designs are combined onto a DTF gang sheet. Suppliers with no minimum order requirements and no setup fees, like Limitless Transfers, make DTF accessible for a single custom transfer item or a large production run alike.