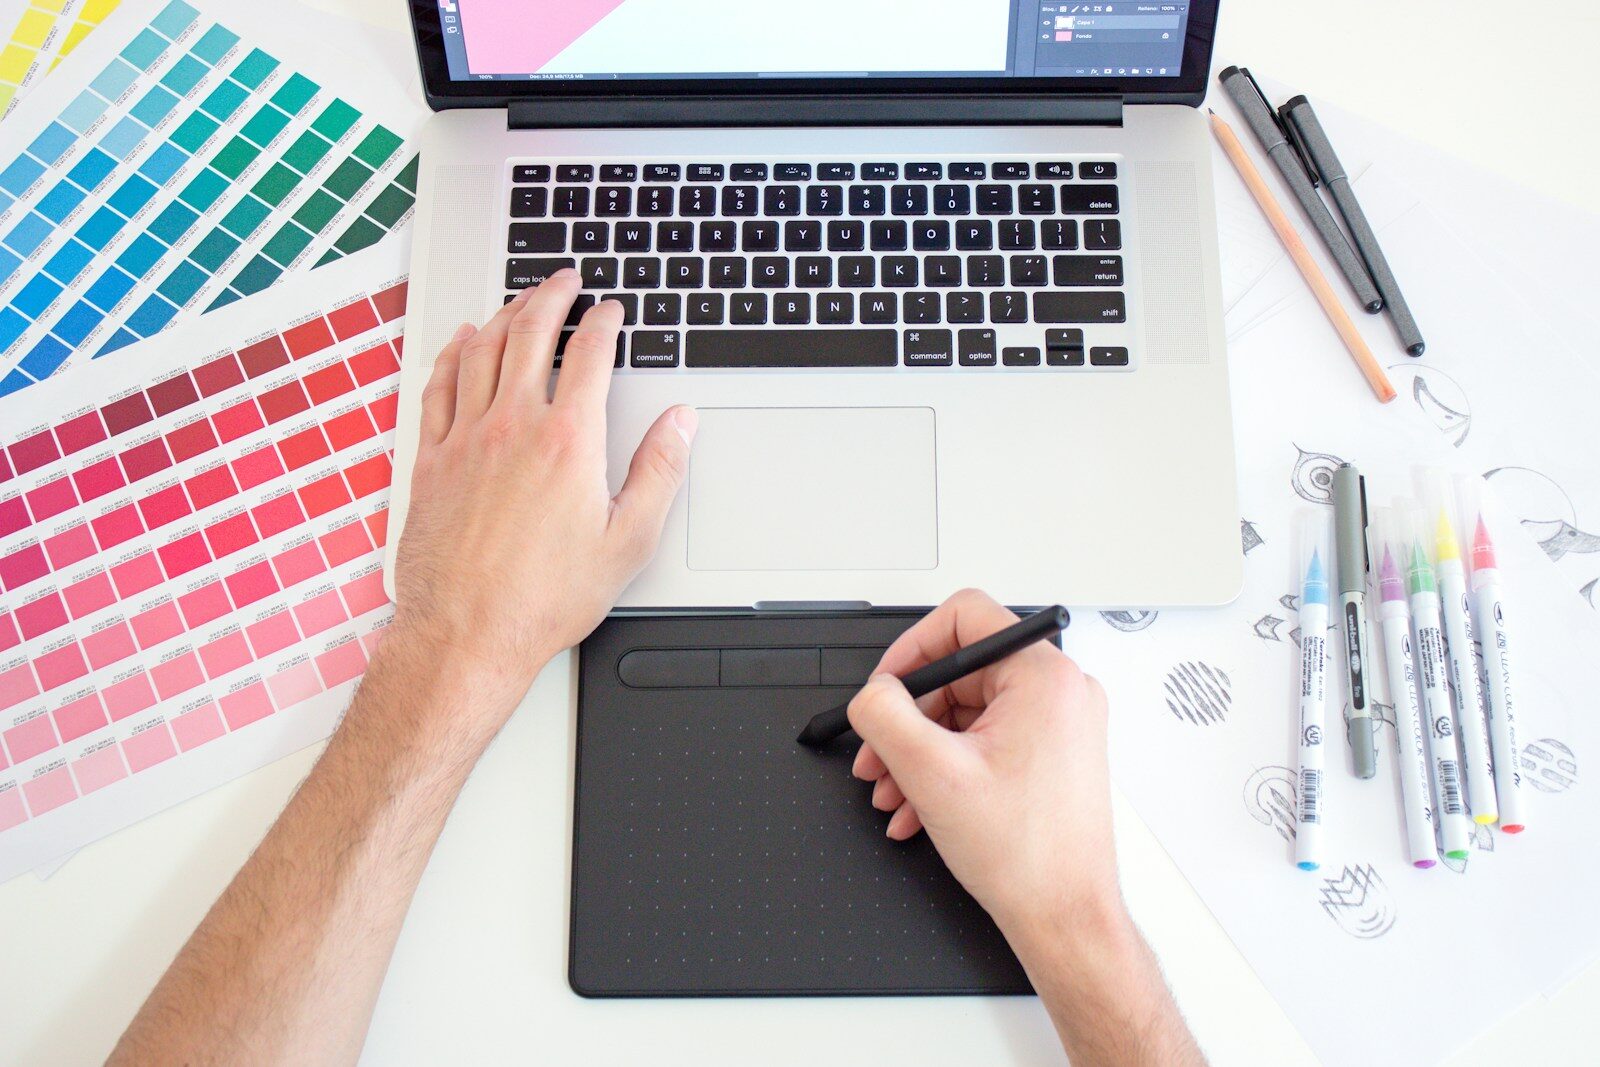
To prepare DTF designs for professional printing, use high-resolution artwork (300 DPI recommended), export files as PNG with a transparent background and RGB color mode, keep lines at least 4 pixels thick, and size your design to match its intended placement. Limitless Transfers’ Order Builder checks artwork automatically and nests designs onto cut-friendly gang sheets with no setup fees.
A finished DTF transfer can only be as sharp as the file behind it. We’ve printed thousands of designs, and the single biggest factor separating a crisp, vibrant transfer from a muddy, pixelated one isn’t our printers — it’s the artwork our customers upload. Low-resolution images, accidental backgrounds, text that’s too small to survive the press, and files saved in the wrong format are the most common (and most preventable) reasons a transfer doesn’t turn out the way someone imagined it.
Directto-film (DTF) printing & DTF Transfers work by printing your design onto a specialized PET film using expanded-gamut CMYK+RGBO+W inks, applying adhesive powder, curing it, and then transferring the design onto a garment with heat and pressure. Because the ink lays down exactly what’s in your file, DTF rewards clean, well-prepared artwork — and it’s forgiving of almost nothing else. Unlike vinyl cutting, there’s no weeding involved, and unlike DTG, there’s no garment pre-treatment step. That simplicity is part of what makes DTF such a popular choice for custom T-shirts, hoodies, team apparel, and branded merchandise.
At Limitless Transfers, we’ve been recognized with back-to-back 1st Place awards for DTF Quality in 2024 and 2025, and we built our Order Builder specifically to help customers catch artwork issues before they become printing problems. This guide walks through everything we tell our own customers about preparing DTF designs — resolution, backgrounds, sizing, color, fine detail, file formats, and gang sheet setup — so your next transfer comes out exactly how you pictured it.
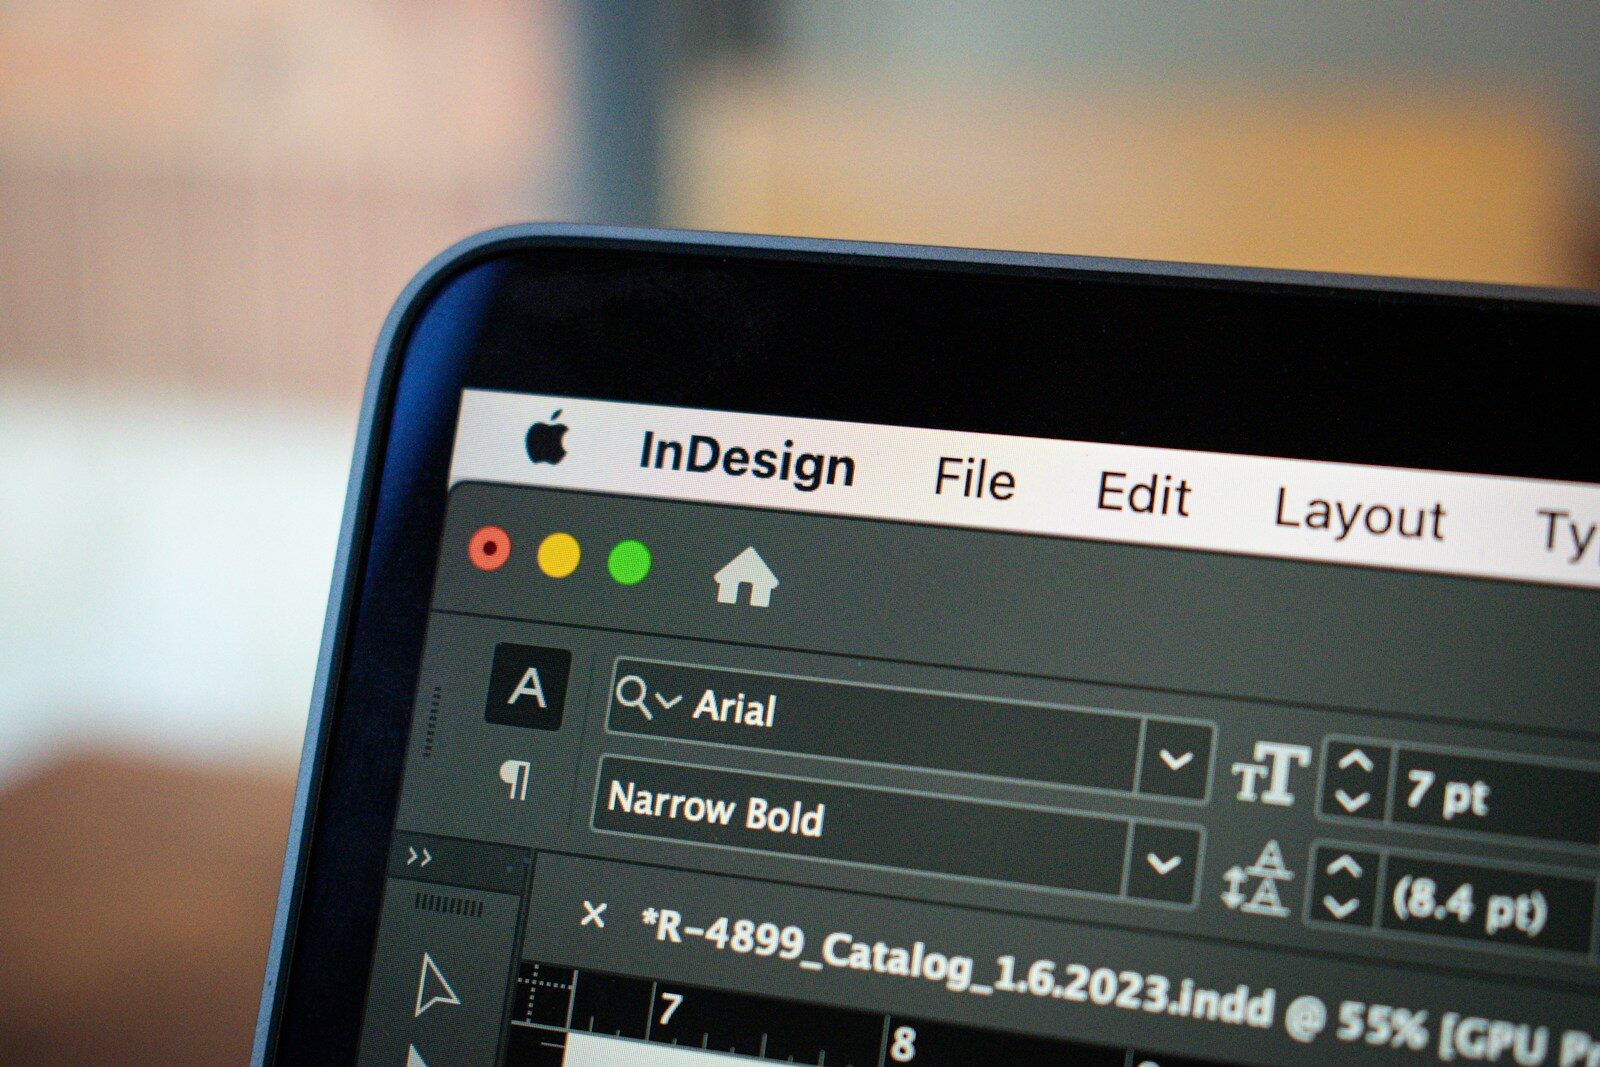
Photo by Kelsey Todd on Unsplash
What Are DTF Designs, and Why Does Artwork Preparation Matter For Custom DTF Transfers?
A DTF design is simply the digital file you submit to be printed onto transfer film. From there, production follows a consistent path: your artwork is printed onto PET film using expanded-gamut ink, adhesive powder is applied and cured, and the finished transfer is heat-pressed onto a garment or substrate. Every step after your upload depends on what’s already in that file — we can’t add detail that isn’t there, and we can’t un-print a background that wasn’t meant to show.
That’s exactly why DTF has become such a go-to method for small businesses, e-commerce sellers, event organizers, and DIY creators. A well-prepared design lets you get:
- Full-color graphics with genuinely fine detail
- No vinyl cutting or weeding required
- No garment pre-treatment step
- Flexibility for small runs or large production batches
- Compatibility across a wide range of fabrics, including cotton, polyester, and blends
DTF printing is also cost-effective for small custom orders, since you don’t need to invest in your own printing equipment to get professional results. But the final look of any transfer still comes down to four things: artwork quality, garment compatibility, pressing technique, and care after application. We’ll start with the one you control first — the file.
Choose the Right Image Resolution for Direct To Film Printing
Resolution issues are the number one reason a DTF design doesn’t print as sharply as expected. Understanding the difference between pixel dimensions and print resolution makes a real difference here: an image’s pixel count determines how much detail it holds, while its intended print size determines how much that detail gets stretched. According to Adobe’s guide to image resolution, resolution and image quality are directly linked — and that relationship becomes especially visible once an image is enlarged for printing.
We recommend preparing raster artwork at approximately 300 PPI at its intended print size whenever practical. Enlarging a small image doesn’t recover detail that was never captured in the first place — it just stretches the existing pixels further apart, which is exactly what produces blur and jagged edges.
Our advice: skip website screenshots and small downloaded images entirely. Use the original, high-resolution file whenever you have access to it. For logos, typography, and illustrations, vector artwork is especially valuable, since it can generally scale up without the pixelation issues that affect raster images.
Before uploading, look out for the telltale signs of a low-resolution file:
- Jagged edges along curves and letters
- Blurry or fuzzy text
- Pixelated outlines around shapes
- Lost detail in small illustrated elements
Check your design at its actual print size, not just as a thumbnail. A logo that looks perfectly sharp at two inches on your screen can look completely different once it’s blown up to cover the front of a hoodie.
How to Fix Low-Resolution DTF Designs
If a design isn’t holding up at full size, go back to the original source file rather than trying to repair the compressed version. Re-export it at the correct dimensions and resolution, and use a vector version of the logo or illustration if one exists. Avoid treating automatic upscaling tools as a substitute for missing original detail — they can smooth an image, but they can’t invent information that was never there. Always give the edges and small elements one more look before placing your order.
Use a Transparent Background When Needed
For standalone logos, lettering, and illustrations meant to sit directly on a garment, a transparent background is almost always the right choice. Without one, a white or colored rectangle hiding behind your design can print as a visible box around it instead of disappearing into the fabric.
It helps to think about this distinction clearly: white artwork is an intentional printed element, while transparency marks an area where no ink should print at all. To preserve that distinction, export your design as a PNG with transparency, since JPG files don’t support transparent backgrounds and will often introduce unwanted white space around your artwork. (A background isn’t automatically a problem, by the way — if it’s intentionally part of the design, like a full rectangular graphic or an illustrated scene, that’s a different situation entirely.)
How to Remove Unwanted Backgrounds
Graphic-design software makes quick work of background removal, but the real excellent quality check happens afterward. Look closely at edges around hair, fine lettering, and small decorative elements, where stray pixels and leftover background color tend to hide. Preview your file against both a light and a dark background to confirm the transparent areas are actually transparent before you upload. If you need a hand with this step, Adobe Photoshop’s background removal tool is a solid option for cleaning up artwork before it goes to print.
Set the Correct Design Dimensions Before Uploading For Fast Turnaround
Before you upload anything, decide exactly where the design will sit on the finished garment. A full-front graphic, a left-chest logo, a back print, and a sleeve design all call for different proportions — and measuring the intended print area on the actual garment first will save you from guessing.
Keep in mind that an image’s pixel dimensions don’t automatically dictate its final physical print size; that’s set separately when you place your order. Once you’ve chosen dimensions, check the size preview to confirm that text, borders, and important details are still legible. Scale a design up too far and pixelation becomes visible. Scale it down too much and fine details get lost entirely. We offer ordering by size specifically so you can select dimensions that match your project instead of settling for a fixed template.
Consider the Garment and Placement
A large graphic might suit the front or back of a hoodie perfectly, while that same design could overwhelm a pocket area or sleeve. Seams, pockets, zippers, and other garment construction details can all affect where a design can realistically sit, so check your available pressing area before finalizing anything. Consistent sizing also matters if you’re producing multiple garments — it’s what makes a batch of shirts look like a cohesive product line rather than a set of one-offs.
Prepare Text, Fine Lines, and Intricate Details Carefully
Avoid Text That Is Too Small
Tiny lettering is one of the easiest things to miss when you’re designing on a large monitor. Thin fonts and closely spaced characters that look perfectly readable on screen can blur together once printed. Check your design at its actual print size — not zoomed in — and lean on readable fonts, generous spacing, and strong contrast. If a slogan or detail still looks cramped, it may need a larger print size or a simpler treatment.
Keep Fine Lines Clear
Hairline strokes, narrow outlines, and tiny dots placed close together can lose definition during printing or application. If your design includes delicate linework, thicken those lines and widen the spacing between elements where you can. The minimum level of detail that reproduces well depends on your artwork, your chosen output size, and the production process itself, so it’s worth inspecting fine lines closely before you give a file final approval.
Prepare Detailed Illustrations and Distressed Artwork
Detailed illustrations, textured graphics, and distressed or vintage-style designs can print beautifully — as long as the original file has enough resolution and clean edges to support that complexity. Intentional worn effects and texture marks are part of the look, but accidental speckles or stray pixels aren’t, so it’s worth distinguishing between the two before upload. Very intricate graphics sometimes benefit from a larger print size or a touch of selective simplification to keep the design readable.
For logos and lettering especially, building in vector format from the start avoids most of these issues altogether. Adobe Illustrator’s guide to vector graphics is a helpful primer if you’re working with scalable artwork for the first time.
Choose Colors That Translate Well to DTF Printing
Limitless Transfers prints using an expanded-gamut CMYK+RGBO+W ink set, which reproduces a noticeably wider range of colors than standard CMYK printing — including the brighter tones and smoother gradients that traditional DTF printers often struggle with. The white ink layer is what keeps colors visible and vibrant on dark garments, where the fabric itself would otherwise mute them.
Keep in mind that colors on your screen won’t always match the finished transfer exactly. This is especially true for very bright neons or subtle, muted tones that fall outside any printer’s reproducible range. Our RIP software interprets your RGB artwork and converts it to the closest printable match within our expanded gamut — it’s a highly accurate process, but DTF still isn’t a true spot-color method, so exact Pantone matches can’t be guaranteed. If you’re starting from a specific Pantone value, converting it to RGB first (or checking our RGB swatch references) gives you the most reliable result. For a deeper look at why screen and print colors diverge, Adobe’s overview of color management covers the fundamentals, even though its focus extends beyond DTF specifically.
What Fabrics Work with DTF Transfers?
Consider Light and Dark Fabrics
White ink is what makes color visibility possible on dark garments in the first place, so the same design can look noticeably different printed on black fabric versus white. Review your intended garment color before locking in your artwork — the final appearance always depends on a combination of color choices, application, fabric, and pressing conditions, not color alone.
Prepare Gradients and Subtle Color Transitions
Gradients can transition smoothly when the source file has enough resolution and color information behind it. Very subtle gradients or faint fades are the ones to watch closely, since they may not translate exactly the way they appear on a backlit screen. Check your file for banding or unwanted color shifts, and avoid exporting through a process that introduces compression artifacts.
Choose the Right File Format for Your DTF Designs
Your file format determines how much of your design — image data, transparency, color information — actually survives the trip from your screen to our printer. Always confirm current upload requirements before placing an order, but in general:
- PNG — ideal for raster artwork that needs a transparent background
- PDF — useful for print-ready files, including many vector-based designs
- SVG — works well for scalable vector artwork when accepted by the ordering workflow
- AI or EPS — suited to professional vector workflows, depending on export settings
- JPG/JPEG — fine for artwork with a solid background, but not for anything requiring transparency
If you’re not sure which format fits your file, the W3C’s PNG specification is a useful technical reference for understanding how PNG handles transparency specifically.
Whatever format you choose, export a clean final version rather than uploading a working file with hidden layers, leftover guides, or an unintended background. Open the exported file one more time before submitting it, just to confirm nothing shifted — fonts, effects, and layers can sometimes behave unexpectedly across different software.
Prepare One Design or Organize Multiple Designs on a DTF Gang Sheet
Not every order calls for the same approach. A single large graphic, a repeated logo, or one specific project is often easiest to order by size. But when you’ve got several designs to print at once — for a product line, an event, or a team order — a gang sheet lets you arrange multiple pieces of artwork onto one roll of film.
Gang sheets are especially useful for small businesses, print shops, promotional product runs, and seasonal designs, since efficient layout planning can reduce unused film space (though actual savings depend on your specific design dimensions, spacing, and order volume). At Limitless Transfers, you can order by size, upload your own prepared gang sheet, or build one using our Order Builder — and because there’s no minimum quantity required, this works just as well for a first-time customer as it does for an established shop.
When to Upload a Pre-Made Gang Sheet
If you already have a carefully arranged, print-ready layout, uploading it directly gives you full control over placement. Ready to press and ready-to-print gang sheet files should be designed and exported in RGB color mode at 22.5 inches wide by whatever length your project requires (with a 22.5″ × 12″ minimum). PDF is the recommended format for vector graphics, while PNG works well for bitmap artwork — and if you’re combining both, we recommend separating them into two files and adding their lengths together when entering your total. Before uploading, double-check dimensions, spacing, artwork resolution, and transparent areas one more time.
How the Order Builder Simplifies Gang Sheet Setup
For customers who’d rather skip manual layout work entirely, our Order Builder handles it for you. Upload your individual designs, set sizes and quantities, and our Smart Nesting engine automatically packs everything onto a cut-friendly, optimized gang sheet — complete with built-in artwork checks that flag resolution, quality, or transparency issues before your order ever goes to print. The Print Size Visualizer lets you preview your design on an actual garment before committing, and the Design Vault keeps your uploaded files saved in your account so you’re not re-uploading the same artwork for future orders. Larger orders are also priced on a volume-based tier system, so bigger gang sheets come with a lower per-inch cost.
Make the Most of Your Gang Sheet Space
Whichever method you choose, a few habits make a real difference in how a gang sheet turns out:
- Group designs by size and intended use
- Leave adequate spacing between designs (our builder defaults to a 0.25″ gap) to support clean cutting
- Avoid overlapping artwork or letting details extend past the design boundary
- Confirm each design’s size and orientation is correct
- Keep small text and intricate graphics large enough to reproduce clearly
- Review the final sheet layout before submitting
If you’re newer to design work and want to build stronger layout and typography skills before creating your first gang sheet, Canva’s Design School offers free, beginner-friendly lessons worth exploring.
Complete Your Final DTF Artwork Checks Before Ordering
A few minutes of review before you hit submit can prevent most avoidable printing issues. Before uploading, confirm that:
- Image resolution suits your intended print size
- Artwork dimensions match your intended garment placement
- Transparent backgrounds are preserved where needed
- Unwanted backgrounds and stray pixels have been removed
- Text and fine lines stay legible at actual print size
- Gradients and distressed effects look the way you intended
- Colors and contrast suit your chosen garment
- Your file is saved in a supported format
- Multiple designs are correctly arranged and spaced on the gang sheet
- Your final uploaded file matches the version you approved
Our Order Builder automatically checks every upload for resolution, quality, and transparency issues, but reviewing your own file first is still the best way to catch anything our tools might miss — like a design that’s technically high-resolution but just isn’t sized right for its placement.
What Happens After You Order Premium DTF Transfers?
Once your order is submitted, your artwork moves straight into production: printing onto PET film, followed by adhesive powder application and curing. From there, your prepared transfers are ready to ship and press.
Apply Transfers Using the Correct Heat Press Pressure
Our transfers are true hot-peel, which means you don’t have to wait for the film to cool before removing it — a real advantage for anyone running high volumes. For best results, apply transfers using the following settings:
- Temperature: 280–300°F (140–150°C)
- Pressure: Medium-firm (40–60 PSI)
- Press time: 8 seconds with a cover sheet
- Peel: Hot peel, immediately after pressing
- Post-press: 3 seconds with a cover sheet
A cover sheet isn’t necessary if your heat press has an upper platen cover. Because peel method and pressing requirements can vary by transfer type, always check the current application instructions for the specific product you’re pressing rather than assuming one setting works universally.
Protect the Quality of Your Finished Apparel
Properly applied DTF transfers are built to hold vibrant color and withstand normal wear, and our transfers are thoroughly wash tested — when applied correctly, they hold up just as well as screen printing, if not longer. That said, real-world wash performance still depends on the garment itself, detergent choice, water temperature, and tumble dry method. Following basic garment care — washing inside out, avoiding bleach, and using a moderate to cold water temperature — goes a long way toward preserving your finished print. If you’re choosing fabric for a new project, Cotton Incorporated’s CottonWorks is a useful resource for understanding how different materials behave and hold up over time.
Why Choose Limitless Transfers for Your DTF Designs?
We built Limitless Transfers to be a one-stop solution for anyone who wants professional-quality transfers without investing in their own DTF printing equipment. A few things set us apart:
- Award-winning quality — recognized with 1st Place for DTF Printing Quality in both 2024 and 2025
- Durable true hot-peel transfers — designed for fast, efficient production
- No minimums — order exactly what your project needs, from one design to hundreds
- Flexible ordering — upload your own artwork, use our Order Builder, or order by size
- Fast turnaround — orders placed by noon EST ship same day
- Free shipping — free UPS Ground deliverlyon qualifying orders over $50
- Vibrant, accurate color — expanded-gamut CMYK+RGBO+W printing with a soft-hand feel
- Volume-based pricing — larger gang sheets come with lower per-inch costs
- A complete ecosystem — shop transfers, heat presses, and supplies all in one place
Whether you’re a DIY creator pressing your first shirt, an e-commerce seller scaling a product line, or an established print shop looking for a reliable DTF partner, these features are built to flex with however you work.
Prepare Your DTF Designs and Start Creating
High-resolution artwork, correct sizing, a clean transparent background, legible fine detail, and one last careful file check — that’s really all it takes to set a DTF transfer up for success. Most printing disappointments trace back to one of these steps getting skipped, and all of them are well within your control before a file ever reaches our printers.
From here, it’s just a matter of choosing the ordering method that fits your project: a single design sized exactly how you need it, or a full gang sheet built with our Order Builder.
Ready to turn your artwork into professional-quality transfers? At Limitless Transfers, we make it easy to order vibrant, detailed DTF designs without minimums. Upload your artwork, organize multiple designs with our Order Builder, and get started on your next custom apparel project today.
Frequently Asked Questions
What resolution should my DTF design file be?
We recommend 300 DPI at your intended print size. Lower resolutions can appear pixelated or blurry once printed, especially on larger designs.
Do I need a transparent background for my DTF design?
Yes, if your design is a standalone logo, illustration, or text. Export as a PNG with transparency — JPG files don’t support transparent backgrounds and can leave an unwanted white box around your artwork.
Is there a minimum order size for DTF transfers?
No. Limitless Transfers has no minimum quantity requirement, whether you’re ordering a single design by size, uploading your own gang sheet, or using our Order Builder.
What’s the difference between ordering by size and using a gang sheet?
Ordering by size works well for one design or a repeated logo. A gang sheet lets you arrange multiple different designs onto a single roll of film, which is useful for team orders, product lines, or multiple projects at once.
What file formats does Limitless Transfers accept?
Our Order Builder accepts PNG, JPG, PDF, and AI files up to 200MB each. PNG with transparency is recommended for raster artwork, while PDF works well for vector files.
What are the recommended heat press settings for Limitless Transfers?
Press at 280–300°F with medium-firm pressure (40–60 PSI) for 8 seconds using a cover sheet, hot peel immediately, then post-press for 3 seconds. A cover sheet isn’t needed if your press has an upper platen cover.