Looking for a heat press guide you can trust? We got you.
A heat press applies controlled heat and pressure to bond DTF transfers onto fabric. For best results, set your press to 305–325°F for cotton and 270–300°F for polyester. Always follow your transfer manufacturer’s instructions, press for 10–15 seconds with medium-firm pressure, and peel the carrier film according to your transfer type—hot or cold.
Getting crisp, vibrant, long-lasting custom apparel isn’t just about using great transfers—it’s about applying them correctly. Even the highest-quality DTF transfer can fall short if your heat press settings are off by a few degrees, your pressure is too light, or your peel timing is wrong.
This guide covers everything you need to know: temperature, pressure, press time, garment prep, placement, peeling methods, safety, and the most common mistakes beginners make. We’ll also cover how DTF compares to HTV, sublimation, plastisol, and laser transfer paper—so you understand where each method fits and why temperature settings differ. Whether you’re pressing your first shirt or scaling a small business, these fundamentals will help you get consistent, professional results every time.
Limitless Transfers produces award-winning hot peel DTF transfers engineered for ease of application. When your settings are dialed in, the results speak for themselves.
What Is a Heat Press and Why Does It Matter?
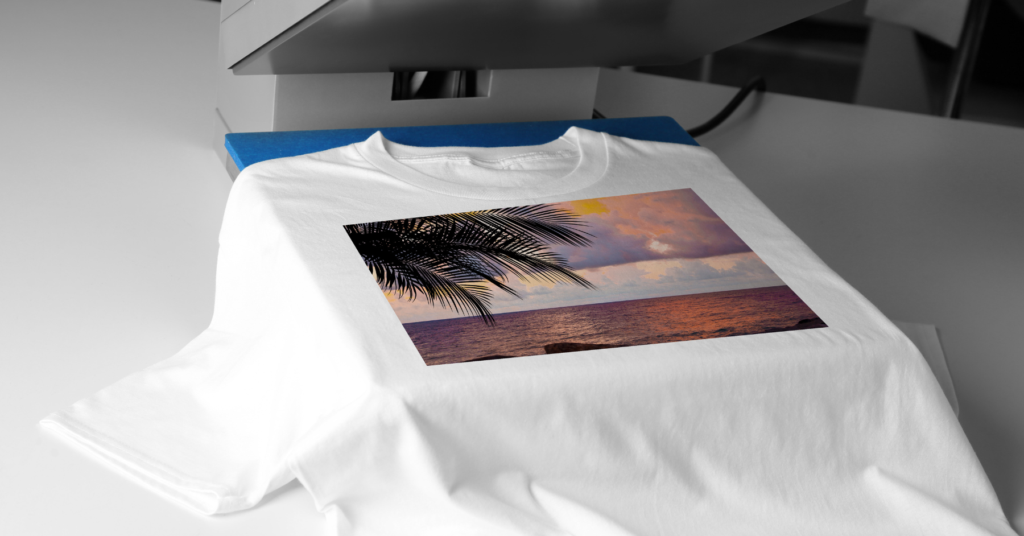
A heat press is a machine that applies controlled heat and pressure to bond a design onto a surface—most commonly fabric. It operates using a heated upper platen that closes over a lower platen, creating an even transfer of heat across the design area.
Unlike a standard household iron, a heat press delivers consistent temperature and even pressure across the entire surface. That consistency is what separates a transfer that peels after two washes from one that looks great after 50.
For DTF (Direct to Film) transfers specifically, heat activates the adhesive powder baked into the film. When the right combination of heat, pressure, and time is applied, the adhesive melts and bonds permanently to the garment fibers. Get any of those three variables wrong, and you’ll either end up with a transfer that won’t stick or a garment that’s scorched and ruined.
According to STAHLS’—one of the most respected names in heat press equipment—a heat press is the single most important investment for anyone starting a custom apparel business. The quality of your machine directly affects the quality of your finished product.
Understanding Heat Press Settings for DTF Transfers
Three variables control every successful heat press application: temperature, pressure, and time. Miss one, and the whole press suffers.
|
Setting |
Why It Matters |
|---|---|
|
Temperature |
Activates the adhesive layer in the transfer |
|
Pressure |
Ensures full, even contact between transfer and fabric |
|
Time |
Controls how long heat penetrates the heat transfer material |
|
Placement |
Determines the visual accuracy of the final design |
|
Peeling Method |
Prevents tearing, ghosting, or incomplete transfer |
Most DTF transfer failures trace back to one of these five factors. That’s why Limitless Transfers provides clear application instructions with every order—so you’re never guessing.
Always treat the transfer manufacturer’s instructions as your primary source for settings. General guides (including this one) are useful starting points, but the specific product you’re pressing should have the final say.
Heat Press Safety: What You Should Never Overlook
Before diving into settings, a quick word on safety. A heat press platen reaches temperatures between 270–400°F—hot enough to cause serious burns in seconds.
- Never leave a heated press unattended. If you step away, lower the platen or power the machine down. An unattended press is a burn and fire hazard.
- Always preheat your press to the target temperature before you start pressing. Applying a transfer to a press that hasn’t fully reached temperature leads to inconsistent results and partial adhesion.
- Use heat-resistant gloves when handling transfers immediately after pressing.
- Keep your workspace clear of flammable materials near the press.
These habits take seconds to build and protect both you and your product.
How to Check and Set Pressure Correctly
Pressure is one of the most underrated variables in heat pressing—and one of the most commonly set wrong.
Too little pressure means the transfer doesn’t make full contact with the fabric. The result is weak adhesion, lifting edges, or a patchy transfer that won’t survive washing.
Too much pressure can distort delicate fabrics, crush the texture of athletic wear, or leave unwanted press marks—especially on heat-sensitive materials like polyester and spandex.
The paper test is the simplest way to check if your pressure is calibrated correctly. Place a sheet of regular printer paper between the platens and close the press. When you pull the paper out, it should offer firm, even resistance. If it slides out easily, your pressure is too low. If it tears or won’t budge, it’s too high. Adjust accordingly.
Pressure settings also vary based on material type and thickness:
- Lightweight fabrics (polyester, spandex): Use lighter pressure to avoid distortion.
- Mid-weight fabrics (cotton t-shirts, 50/50 blends): Medium-firm pressure works well.
- Heavy fabrics (canvas, denim, hoodies): Use firmer pressure to ensure full contact through the thickness of the material.
- Plastisol transfers: These require notably heavy pressure during application—more than DTF or HTV. The combination of high heat and heavy pressure is what bonds plastisol ink to fabric.
Adequate pressure ensures proper contact across the entire design. Make it a habit to check your pressure settings whenever you switch to different materials.
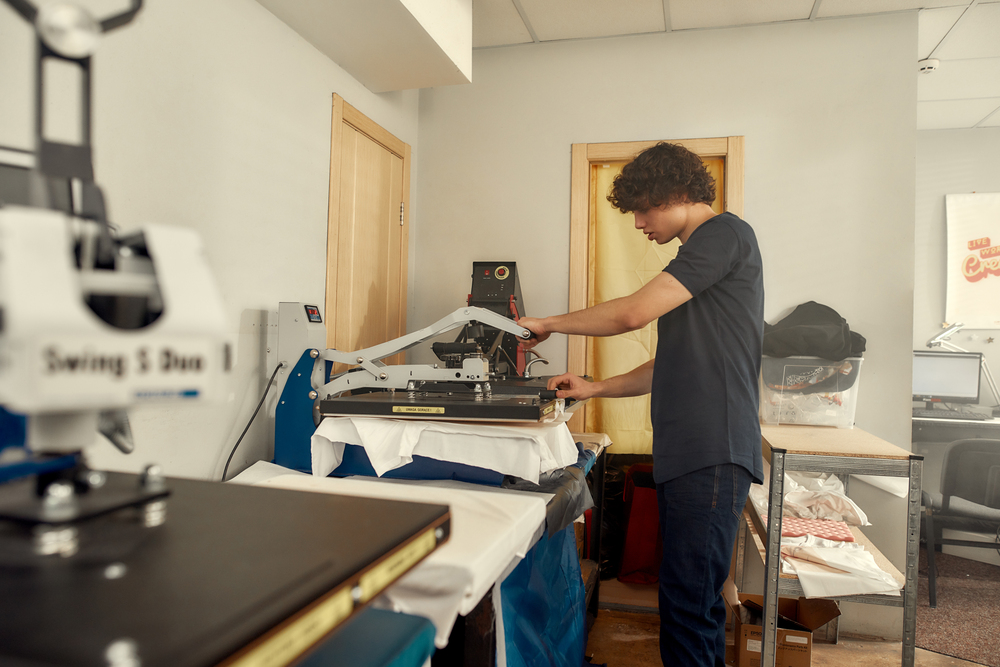
Young cheerful male worker using heat press transfer machine for printing t-shirt at workplace. Printing on clothing and textiles concept. Horizontal shot
What Should My Heat Press Be Set At?
This is the most common question new decorators ask—and the answer depends on what you’re pressing onto. Always adjust settings based on the material type and its thickness.
Cotton
Cotton handles heat well. For DTF transfers on 100% cotton, set your press to 305–325°F (151–163°C), apply medium-firm pressure, and press for 10–15 seconds. Cotton’s natural fibers tolerate higher temperatures without scorching, which makes it the easiest material to work with.
Polyester
Polyester is heat-sensitive. Temperatures above 320°F (160°C) can cause scorching, melting, or press marks. According to Easty Limited’s polyester heat guide, the ideal range for polyester is 270–300°F (132–149°C) with a press time of 10–15 seconds. Always use a protective sheet to prevent ink from scorching the garment and to protect synthetic fibers from direct platen contact.
Cotton/Poly Blends (50/50)
Blended fabrics are a middle ground. A setting of 300–320°F (149–160°C) for 10–15 seconds with medium-firm pressure works well for most 50/50 blends. Stay closer to the lower end if the polyester content is higher.
Performance Fabrics and Spandex
Athletic and moisture-wicking fabrics are among the most heat-sensitive materials you’ll encounter. Keep temperatures between 270–290°F (132–143°C) and reduce press time slightly to 10–12 seconds. These fabrics can lose their elasticity or texture if overheated.
Nylon
Nylon is delicate. Use lower settings around 275–300°F (135–149°C) and always test on a scrap piece first.
Canvas
Canvas can handle more heat. For DTF applications on canvas bags or totes, 330–350°F (166–177°C) for 15–20 seconds with firm high pressure typically delivers strong adhesion.
Wood and Hard Surfaces
DTF transfers aren’t designed for hard surfaces—sublimation is the better method for those. Attempting DTF on wood, metal, or ceramics often produces poor results regardless of your settings.
How DTF Compares to Other Transfer Methods
Understanding how DTF printing differs from other heat press methods helps you appreciate why its recommended settings work the way they do—and what to expect if you’re pressing multiple transfer types.
DTF (Direct to Film)
DTF printing uses a melted adhesive powder to bond the transfer to fabric. It requires less heat than sublimation or laser transfer paper, and it works on a wide range of materials—cotton, polyester, blends, nylon, leather, canvas, denim, and more. Typical settings: 270–325°F, 10–15 seconds, medium-firm pressure, depending on fabric type. DTF transfers from Limitless Transfers are true hot peel—peel the carrier film immediately after pressing while still hot.
HTV (Heat Transfer Vinyl)
HTV uses heat and pressure to activate an adhesive layer that bonds vinyl to fabric. It can be applied to cotton, polyester, blends, and many other materials. Pressing time for HTV can vary significantly—from as little as 4 seconds up to 30 seconds—depending on the brand, vinyl type, and fabric. Temperature typically ranges from 140°C to 160°C (284–320°F), though different HTV brands may require varying temperatures and times, so always check the manufacturer’s instructions for the specific product you’re using.
HTV comes in two main peel types:
- Hot peel HTV: Remove the carrier sheet while the vinyl is still warm.
- Cold peel HTV: Wait until the transfer has fully cooled before peeling. Cold peel tends to produce crisp, clean results and is common with glitter, foil, and specialty vinyl types.
Some HTV products specifically require cold peeling after application to achieve proper adhesion. Using the wrong peel method can lift the vinyl or distort the finish. Different HTV types—standard, stretch, glitter, puff, reflective—each have their own application instructions, so don’t assume settings carry over between products.
Sublimation
Dye-sublimation printing requires higher heat than DTF for the dye to transfer effectively. Sublimation typically operates around 200°C (392°F)—significantly hotter than DTF or HTV. The process works by turning solid dye into a gas that bonds with polyester fibers, which is why sublimation paper only works on polyester or polyester-coated substrates. It’s ideal for hard goods (mugs, phone cases) and poly garments, but it doesn’t work on cotton.
Plastisol Transfers
Plastisol transfers are screen-printed designs on special release paper. They require heavy pressure during heat pressing—more than most other transfer types. The combination of high heat and firm, even pressure is what drives the plastisol infusible ink into the fabric and creates a durable bond. Lighter pressure results in poor adhesion and a transfer that peels quickly.
Laser Transfer Paper
Laser transfer paper uses heat to bond toner from a laser-printed design onto fabric. It typically requires higher temperatures than DTF, HTV, or sublimation to properly fuse the toner. Extra heat is needed to activate toner bonding, and pressing time and pressure both play a role in the final result. Different laser paper products vary in their requirements, so follow the specific product instructions.
How to Use a Heat Press Step by Step
Step 1: Preheat Your Press
Always preheat your press to the target temp before placing your first garment. A press that hasn’t fully stabilized will deliver inconsistent heat across the platen, leading to uneven adhesion. Give it the full warm-up time—typically around 7 minutes for a standard clam-shell press—before you start.
Step 2: Prepare Your Garment
Start with a clean, wrinkle-free garment. Moisture trapped in the fabric creates steam during pressing, which can cause the transfer to lift or bubble. Give the garment a pre-press of 3–5 seconds to remove wrinkles and any residual moisture before applying your transfer. Pre-pressing also warms the fabric surface, which improves adhesion. This simple step is one of the most overlooked and most impactful habits you can build.
Step 3: Position Your Transfer
Placement accuracy matters both visually and functionally. Measure or use alignment guides to center your design before pressing. If you’re unsure what size transfer will look right on a specific garment, Limitless Transfers’ Print Size Visualizer helps you choose the correct dimensions before you order.
To prevent your design from shifting during pressing, use heat-resistant tape to lightly secure the transfer in place before closing the platen. This is especially useful for larger designs or when working quickly across multiple garments. Avoid repositioning the transfer after it’s been taped down.
Step 4: Apply a Protective Sheet
Before closing the press, place a protective sheet (parchment paper or a Teflon sheet) over the transfer. This prevents ink from scorching the garment surface and protects the design from direct platen contact. It’s a simple step that takes seconds and eliminates a common cause of scorched or distorted prints.
Step 5: Confirm Your Temperature Settings and Press
Double-check your temperature, time, and pressure settings. Refer to the instructions included with your Limitless Transfers order. If you’re pressing a new fabric type for the first time, run a test press on a scrap piece before moving to your actual garments. Close the press firmly and apply even pressure. Avoid opening the press before the timer completes—releasing early disrupts adhesion and can cause partial peeling or uneven bonding.
Step 6: Peel the Carrier Film
How you peel matters. There are two methods:
Hot peel: Peel the carrier film immediately after pressing, while the transfer is still hot. This is the method used with Limitless Transfers—true hot peel design means the adhesive releases cleanly right away, giving you a faster workflow without waiting.
Cold peel: Allow the transfer to cool completely before removing the carrier film. Some transfer products and HTV types require this method. Cold peel often produces a slightly different finish texture, and some products—especially glitter HTV—achieve their best results only when peeled cold.
Always check which method your transfer calls for. Using the wrong technique—especially pulling cold on a hot peel transfer—can tear or distort the design. This is one of the most common beginner mistakes, and it’s entirely avoidable.
Step 7: Perform a Second Press
Once the carrier film is removed, lay a piece of parchment paper or a finishing sheet over the design and press again for 5–10 seconds. This second press improves durability, softens the hand feel of the transfer, and creates a more professional looking results and a finished surface. Many beginners skip this step—experienced decorators rarely do.
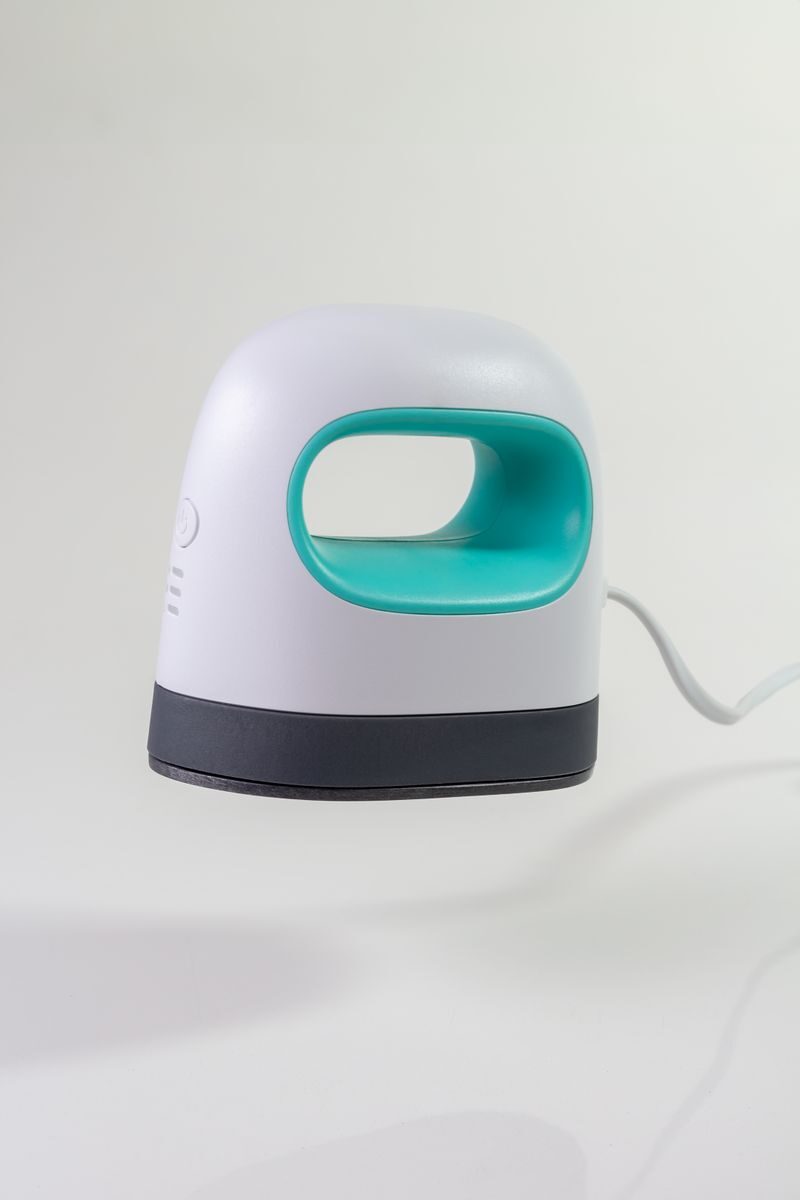
Photo by Márcio Carvalho on Pexels
Heat Press vs. Cricut EasyPress: Which Is Better?
Both tools apply heat and pressure, but they’re built for different users and use cases.
Traditional Heat Press
A standard clam-shell or swing-away heat press offers consistent, even pressure across the entire platen automatically. It remembers temperature settings between sessions, handles high-volume production efficiency, and is built for commercial use. The trade-offs: these machines are heavy (typically around 55 lbs), take approximately 7 minutes to reach operating temperature, and require dedicated workspace.
A traditional heat press is the right choice for small businesses, print-on-demand operations, or anyone pressing garments regularly.
Cricut EasyPress
The Cricut EasyPress is a handheld heat press tool designed for home crafters. It’s lightweight (around 5 lbs), heats up in roughly 2 minutes, and comes in several sizes. The EasyPress 2 reaches up to 400°F, making it compatible with DTF transfers.
The key difference: the EasyPress requires you to apply manual downward pressure, meaning result consistency depends on how steady and even your hand pressure is. For occasional hobby use or small DIY projects, it’s a capable and affordable option.
Choose a traditional heat press if: you’re running a business, pressing multiple garments daily, or need hands-free consistent pressure.
Choose a Cricut EasyPress if: you’re a hobbyist, work in limited space, or just getting started with custom apparel.
Common Heat Press Mistakes Beginners Make
Even with good transfers and solid equipment, small errors can ruin a press. Here are the most common ones:
- Not preheating fully: Pressing before your machine reaches the target temperature leads to incomplete adhesion.
- Wrong temperature: Too high scorches the fabric; too low means the adhesive never fully activates. Improper temperature settings are the leading cause of peeling or scorching transfers.
- Too little pressure: The transfer lifts at the edges or doesn’t bond across the full design. Low pressure produces weak adhesion that often fails after the first wash.
- Too much pressure: Can distort the garment, flatten fabric texture, or damage heat-sensitive materials.
- Wrong peel method: Peeling cold on a hot peel transfer, or peeling hot on a cold peel transfer, damages the design.
- Skipping the protective sheet: Direct platen contact can scorch garments and distort designs.
- Not using heat-resistant tape: Designs that shift during pressing can’t be corrected after the fact.
- Skipping the pre-press: Steam from a damp garment causes lifting and bubbling.
- Skipping the second press: Leads to transfers that look fine initially but lose vibrancy or adhesion after washing.
- Pressing unsuitable materials: Certain fabrics can’t handle standard heat press temperatures without damage.
- Not recording your settings: When you find a combination that works, write it down. Logging your temperature, time, and pressure settings for each material type lets you replicate great results consistently—and troubleshoot problems faster.
- Using poor-quality transfers: Even perfect settings can’t compensate for low-quality adhesive or printing.
Tips for Professional Results Every Time
Consistency is the goal. These habits will help you get there:
- Always preheat to the target temperature. Never press on a cold or partially warmed machine.
- Test a new material first. Press a scrap piece before touching the actual garment—especially with new fabric types or thicker materials.
- Keep your platen clean. Residue from previous presses affects heat distribution and can transfer onto garments. Clean the heating platen regularly to prevent buildup and ensure even heating.
- Use a protective sheet every time. It only takes a second and prevents scorching.
- Secure designs with heat-resistant tape. Especially for larger or multi-piece designs.
- Record your settings. Keep a log of the temperature, time, and pressure combinations that produce good results on each material. You’ll thank yourself when you’re scaling up.
- Calibrate your machine regularly. Use a heat press thermometer to verify that your press is actually reaching the temperature it displays.
- Follow the instructions every time. Consistency in process is what produces consistent results.
- Never leave your press unattended while hot. It’s a safety risk and a full potential for equipment hazard.
Why Quality DTF Transfers Make Heat Pressing Easier
Not all transfers perform the same way under the press. Cheaper transfers often use weaker adhesive formulations that require precise settings to bond at all—leaving little margin for error. High-quality transfers bond more reliably and hold up through repeated washing.
Limitless Transfers’ hot peel DTF transfers are designed to simplify the application process at every step. True hot peel design means you’re not waiting for transfers to cool before moving to the next garment—a significant advantage in any production environment. The adhesive releases cleanly, the colors stay accurate, and the hand feel remains soft after pressing.
Other features that help customers get better results faster:
- No minimum orders — press one shirt or a hundred; there’s no barrier to entry
- Same-day shipping on qualifying orders placed by noon EST
- Free UPS Ground shipping on orders over $50
- Gang Sheet Builder — maximize film usage and reduce waste
- Print Size Visualizer — choose the right transfer size before you order, not after
- Heat presses and supplies available — everything you need in one place
When your transfers are consistent and your supplies are reliable, good technique becomes the only variable.
Build Your Skills, One Press at a Time With Our Heat
Mastering heat press application isn’t complicated—but it does require attention to detail. Temperature, pressure, time, placement, and peeling method each play a role, and when all five are working together correctly, the results are hard to beat.
Start by understanding your materials. Follow the application instructions that come with your transfers. Test before you scale. Record what works. And invest in transfers that are built to perform.
With the right technique and quality DTF transfers from Limitless Transfers, professional-looking custom apparel is well within reach—whether you’re just getting started or fine-tuning a production workflow you’ve been running for years.
Frequently Asked Questions
What should my heat press be set at for DTF transfers?
For DTF transfers on cotton, set your heat press to 305–325°F with medium-firm pressure for 10–15 seconds. For polyester, reduce temperature to 270–300°F to avoid scorching. Always refer to the instructions provided with your specific transfers, as settings can vary by product.
How do I use a heat press step by step?
Preheat your press to the target temperature. Pre-press the garment to remove moisture. Position the transfer, secure it with heat-resistant tape if needed, and place a protective sheet over it. Confirm your temperature and pressure settings, then press for the recommended time. Peel the carrier film using the correct method (hot or cold peel), then perform a second press with parchment paper for durability and a soft finish.
How do I know if my heat press pressure is correct?
Use the paper test: place a sheet of regular printer paper between the platens and close the press. If the paper pulls out with firm, even resistance, your pressure is set correctly. Too easy means pressure is too low; tearing means it’s too high. Also keep in mind that heavier materials like canvas need firmer pressure, while delicate fabrics like spandex need lighter settings.
How is DTF different from HTV or sublimation?
DTF uses melted adhesive powder to bond transfers to fabric and requires less heat than sublimation. HTV activates an adhesive layer with heat and pressure, pressing at 140–160°C for 4–30 seconds depending on the product type. Sublimation requires higher heat—around 200°C (392°F)—and only works on polyester or poly-coated surfaces. Each method has its own settings, peel method, and ideal use cases.
How long does a heat press take to heat up?
A traditional clam-shell or swing-away heat press typically takes about 7 minutes to reach operating temperature. A Cricut EasyPress heats up significantly faster—usually within 2 minutes. Always allow your press to reach the target temperature before pressing to ensure consistent results.
Heat Press Guide: Helpful Resources
Want to keep learning? These trusted sources cover heat pressing, transfer methods, and garment decorating in more depth. Bookmark them as you build your skills.
- STAHLS’ — A leading name in heat press equipment and heat transfer materials. Their learning center is packed with guides, videos, and troubleshooting tips for decorators at every level.
- Cricut — The go-to brand for home crafters using the EasyPress and cutting machines. Their site offers heat guides, project ideas, and material settings to help you dial in HTV applications.
- Sawgrass — A trusted authority on dye-sublimation printing. Their resources explain sublimation temperatures, substrates, and workflows if you’re expanding beyond DTF.
- Spoonflower — Known for custom-printed fabric and design inspiration. It’s a great place to explore patterns, source materials, and spark ideas for your next apparel project.
- Printful — Their blog covers print-on-demand, apparel trends, and business tips. If you’re scaling a custom clothing side hustle, it’s a solid mix of practical and strategic advice.
- Siser North America — A top manufacturer of heat transfer vinyl. Their site includes application instructions, temperature charts, and peel guidance for every HTV type they make.
- Craft Industry Alliance — A membership community for creative business owners. Expect articles, podcasts, and resources on running and growing a craft-based business.