Mastering a heat press comes down to three fundamentals—temperature, pressure, and preparation. This heat press guide covers 15 practical tips to help beginners and experienced decorators get cleaner adhesion, better durability, and more consistent results when applying DTF transfers, HTV, sublimation, plastisol transfers, and more to any garment or substrate.
DTF transfers have made custom apparel decoration more accessible than ever. But whether you’re pressing a DTF transfer, heat transfer vinyl (HTV), sublimation paper, or a plastisol transfer, the technology only works when the application is right. Wrong temperature, uneven pressure, a damp garment—any single variable can turn a premium print into a peeling disappointment.
That’s the gap this guide is designed to close.
Whether you’re crafting one-of-a-kind pieces, decorating garments for customers, or running a high-volume print operation, the fundamentals of heat pressing stay the same. Small, repeatable habits separate hobbyist results from professional-grade output. And when those habits are paired with award-winning transfers—like the true hot peel DTF transfers from Limitless Transfers—the difference in quality is immediately visible.
The 15 tips in this guide cover everything from machine setup and garment preparation to troubleshooting common problems and scaling your production. Work through them in order if you’re new to heat pressing. If you’re experienced, use it as a checklist to plug gaps in your current workflow.
Understanding Common Heat Transfer Methods
Before diving into technique, it helps to know what design mediums are available. Each works differently, and each has its own temperature, time, and pressure requirements.
- DTF (Direct-to-Film) Transfers: A film-printed design coated with adhesive powder that melts onto the fabric when heat and pressure are applied. DTF works on virtually any fabric—cotton, poly, blends, nylon, leather, and more—and generally requires less heat press time than sublimation.
- Heat Transfer Vinyl (HTV): Colored vinyl cut into shapes and heat-bonded onto fabric using a heat press. HTV activates its adhesive layer with heat and pressure, bonding permanently to the fabric surface. Pressing times vary widely—from as few as 4 seconds to as long as 30 seconds depending on the brand.
- Sublimation: Dye-sublimation transfers work by converting ink directly into a gas that bonds with polyester fibers. This process requires higher heat (around 400°F) and longer press times—typically 35 to 50 seconds on polyester fabric. Sublimation works best on white or light-colored polyester and polymer-coated products; it won’t produce vibrant results on dark or natural-fiber fabrics.
- Plastisol Transfers: Pre-printed plastisol ink designs transferred from release paper to fabric. These require heavier pressure and higher temperatures—typically around 350°F—for proper adhesion.
- Printable Transfer Paper: A paper-based medium for printing designs at home or in-shop. Laser transfer paper requires extra heat to bond the toner to fabric properly.
- Screen-Print and Other Methods: Various other methods exist, but HTV, sublimation, DTF, printable transfer paper, and plastisol transfers are the most commonly used for garment decoration and crafting projects.
Each method uses the same basic tool—a heat press—but requires different temperature settings. Knowing which medium you’re working with is the first step to getting the application right.
Photo by Glenn Diaz on Unsplash
Why Following a Heat Press Guide Matters
Every Variable Affects Your Final Print
Heat pressing looks simple. Place the transfer, close the press, wait for the timer, peel. But every step hides variables that directly impact the finished result.
Temperature determines how well the adhesive (or ink) bonds to the fabric. Pressure controls how evenly that bond forms across the entire design. Time dictates whether the adhesive or dye cures fully or only partially. Garment moisture interferes with adhesion at the surface level. Fabric type affects heat absorption. Even placement errors—a transfer that shifts during pressing—can cause ghosting or uneven ink distribution.
The correct application of heat, time, and pressure together ensures even contact between the transfer and substrate. Change one element without adjusting the others, and results become unpredictable.
According to Galaxy Press, nearly 30% of print failures trace directly back to improper heat press settings. That’s a significant margin of waste—and it’s largely preventable.
Great Transfers Deserve Great Application
Limitless Transfers has earned back-to-back first-place recognition for DTF printing quality in 2024 and 2025. Their expanded gamut CMYK+RGBO+W transfers produce vibrant, detail-rich prints with a premium soft-hand feel and true hot peel performance. But even transfers of that caliber need proper application to perform at their best.
Quality transfers and correct pressing or printing technique aren’t separate variables—they’re multipliers. Get both right, and the result speaks for itself.
Understand Your Heat Press Before You Start
Know Your Heat Press Machine
Two press styles dominate the market: clamshell and swing-away.
A clamshell press opens like a hinged lid. It’s compact, beginner-friendly, and lower cost—ideal for tight workspaces and flat materials like T-shirts. The trade-off is that the hot upper platen stays close to the work surface when open, which creates a burn risk and can result in uneven pressure on thicker items.
A swing-away press rotates the upper platen completely clear of the lower platen. This design is safer, allows better pressure distribution across materials up to ¾” thick, and handles a wider range of substrates. It costs more and takes up more space, but professional decorators tend to prefer it for consistency. According to Coastal Business Supplies, a 15×15″ platen is the standard for adult-sized T-shirts regardless of press style.
For new decorators: a clamshell is a solid starting point. For anyone scaling production or working with thicker substrates, a swing-away delivers better long-term results.
Check for Cold Spots Before Production
An uneven platen is one of the most common sources of inconsistent results—and one of the most frequently ignored. Cold spots occur when damaged platen connections or worn heating elements cause certain areas to deliver less heat than the display reads. This leads to weak adhesion or incomplete transfers in those zones.
Heat press temperature fluctuations—whether from a failing element, power instability, or a poorly calibrated machine—can also cause uneven results across a batch.
Test your platen with an infrared thermometer before beginning any production run. Alternatively, press a blank transfer sheet briefly and look for uneven coloring or transfer marks across the surface. If readings vary by more than ±10 degrees from the set temperature, consult the manufacturer or a technician for recalibration. Atlanta Vinyl has a useful practical guide for diagnosing and addressing platen inconsistency.
15 Heat Press Guide Tips for Better Results
1. Always Verify Your Heat Press Temperature
The temperature display on your press is a reference—not a guarantee. Heating elements drift over time. An older machine reading 320°F may be delivering 295°F or 340°F at the platen surface.
Invest in an infrared thermometer and check your platen regularly, especially before starting a new run or pressing an unfamiliar material. A few degrees of variance might seem insignificant, but it matters more with certain methods. For sublimation on polyester, you need to stay near 400°F—too low and the dye won’t fully transfer. For HTV on polyester, you may only be working in a 270°F to 285°F range to prevent fabric damage. That’s a narrow window where a 15°F drift makes a real difference.
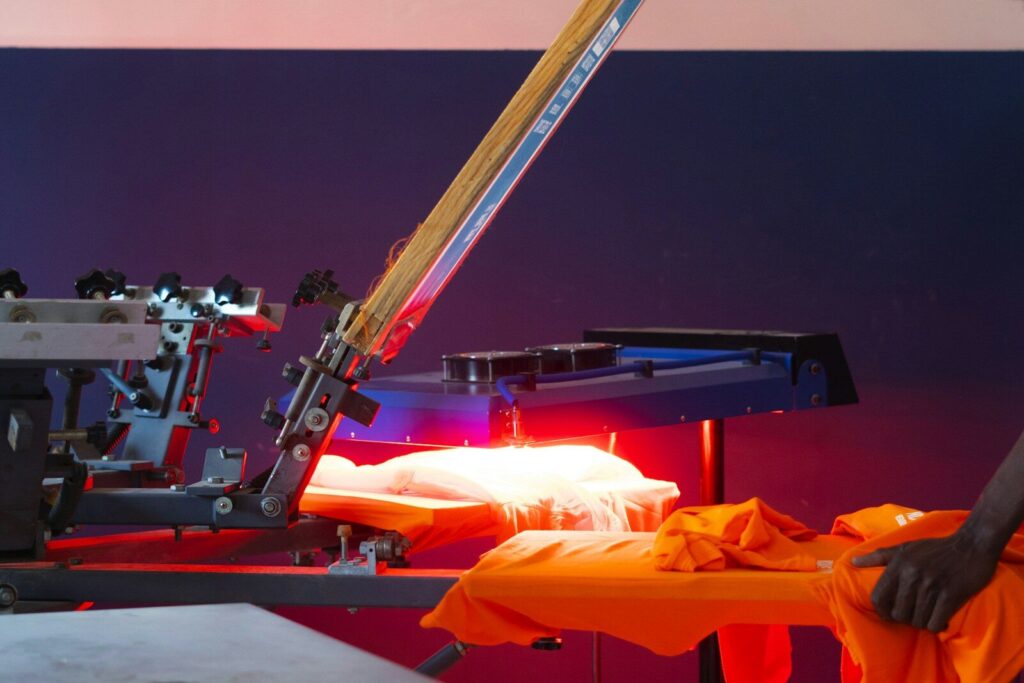
Photo by Hello Massamba on Unsplash
2. Use the Recommended Heat Press Settings for Your Transfer Type
Every heat transfer medium has its own application window. Always follow the specific manufacturer instructions for the transfer material you’re using—these are the most reliable and recommended settings for your exact product.
For general reference, here are standard starting points by method and fabric:
DTF Transfers:
- Cotton: 320–350°F, 10–15 seconds, medium to heavy pressure
- Polyester: 280–300°F, 10–12 seconds, medium to heavy pressure
- Blends: 320–350°F, 10–15 seconds, medium to heavy pressure
- Nylon: 300–320°F, 8–10 seconds, heavy pressure
HTV (Heat Transfer Vinyl):
- Cotton: 305–320°F, 10–15 seconds
- Polyester: 285–300°F, 10–12 seconds
- General range: 285°F to 320°F; press time varies from 4 to 30 seconds by brand
Sublimation:
- Polyester / polymer-coated substrates: ~400°F, 35–50 seconds, medium pressure
- Note: Sublimation requires higher heat than DTF and longer press times. It only works effectively on white or light-colored polyester and polymer coated hard surfaces and materials.
Plastisol Transfers:
- Typically ~350°F, heavy pressure, 10–15 seconds
- Plastisol requires heavy pressure during heat press application to bond correctly.
Laser Heat Transfer Paper:
- Requires extra heat to properly bond the toner to fabric—follow your specific paper’s instructions.
Always treat these as starting points and refine based on your equipment and transfer brand.
3. Pre-Press Every Garment for 5 to 10 Seconds
Pre-pressing is a quick step you should never skip. Before placing your transfer, close the press on the bare garment for 5 to 10 seconds. This removes moisture trapped in the fabric, flattens fibers for better surface contact, and creates a smooth, receptive base for the adhesive.
Skipping pre-pressing—especially on freshly unpacked or stored garments—is one of the most common reasons for weak adhesion that shows up after the first wash.
4. Choose the Correct Pressure Settings
Pressure directly affects how completely the transfer bonds to the fabric. Adequate pressure ensures proper contact between the transfer and substrate, which is essential for effective heat transfer. But pressure can also go wrong in either direction.
Too little pressure results in weak adhesion and designs that peel, lift at the edges, or fail after washing. Too much pressure can distort designs, leave press marks on the fabric, or damage delicate materials entirely.
Different materials require different pressure settings for optimal results:
- DTF and HTV on standard fabrics: Medium to heavy pressure is the typical starting point.
- Plastisol transfers: Require heavy pressure throughout the press cycle for proper adhesion.
- Delicate fabrics (thin polyester, lightweight knits): Use lighter pressure—excessive pressure can distort or damage these materials.
As a practical reference from STAHLS’, a pressure reading of 4–6 on most machines equals approximately 40–60 PSI. To estimate: add a zero to your pressure setting (a temperature and time setting of 7 equals roughly 70 PSI).
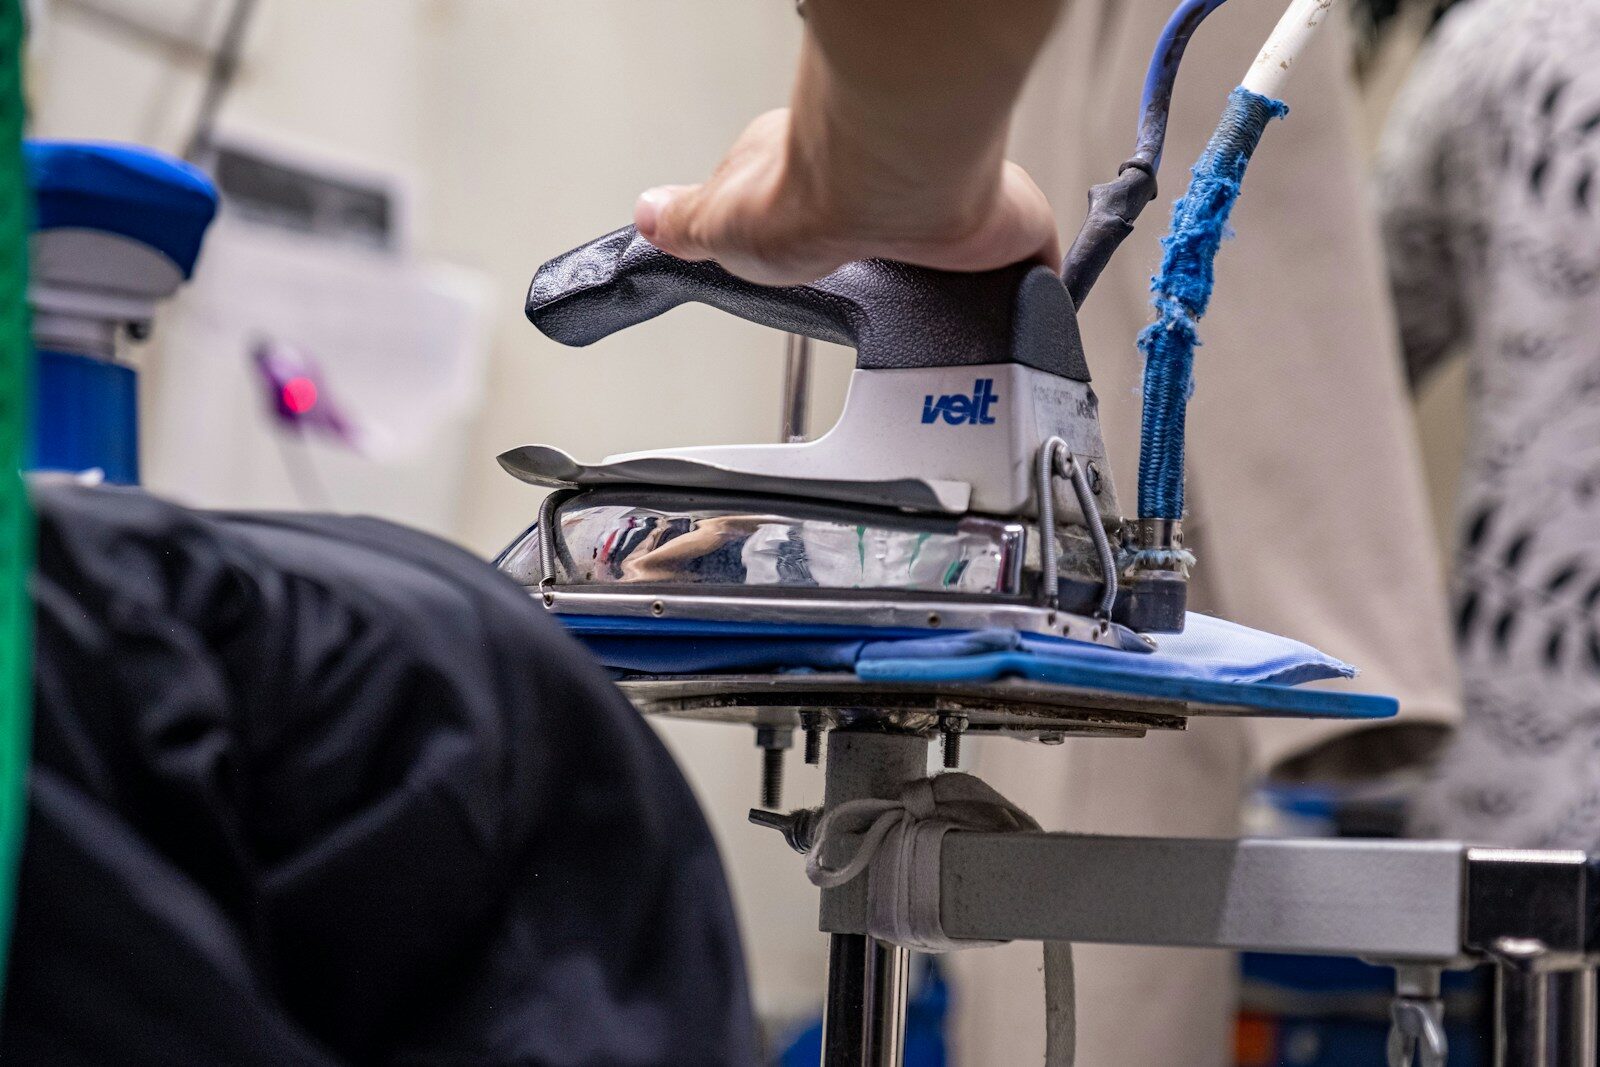
For garments with seams, zippers, or pockets, place a heat press pillow beneath the pressing area to maintain even pressure and prevent gaps in the transfer.
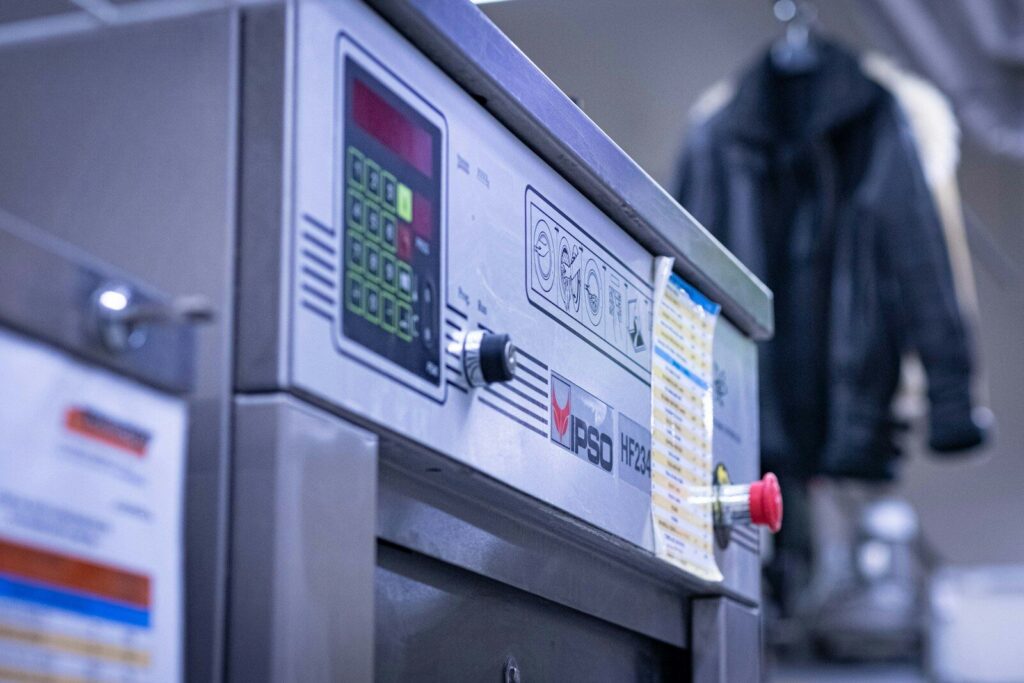
Photo by Anton Savinov on Unsplash
5. Test on Scrap Material Before Final Production
Before running a full production batch on any new substrate or transfer type, press one test piece at your standard settings. This validates your heat and pressure combination before you commit to an entire order.
Assess adhesion, check for scorching or fabric distortion, and peel according to instructions. Adjust temperature in 10°F increments from there until results are consistent. This single habit prevents costly material waste and customer complaints.
Limitless Transfers work across an exceptional range of substrates—cotton, polyester, tri-blends, nylon, leather, canvas, denim, neoprene, wood, and more. But each material responds differently to heat and pressure, making this step valuable even for experienced decorators trying a new substrate.
6. Prepare Your Surface Carefully
A clean pressing surface is non-negotiable. Lint, loose threads, and debris beneath the transfer create visible bumps in the finished print and prevent even adhesion. Before placing any design, quickly lint-roll the garment and visually inspect the pressing area for foreign particles.
Also ensure the garment is sitting flat on the platen without wrinkles or folds beneath the transfer. Even a small wrinkle can cause an uneven bond that lifts prematurely.
Clean your platen regularly—residue and buildup can cause uneven pressure and introduce defects into your prints. A clean platen is a consistent platen.
7. Position Your Design Correctly
Consistent placement matters—both for individual quality and for batch uniformity. Off-center or misaligned prints look unprofessional and create issues for customers.
Use placement guides, t-square rulers, or heat press alignment tools to center your design before pressing. For production runs, tape a consistent positioning template to your lower platen so every garment lands in the same spot. This becomes especially important when building a brand reputation for consistent quality output.
8. Avoid Moisture Throughout the Process
Moisture is the enemy of DTF adhesion—and it affects sublimation and HTV as well. Humidity in the pressing environment, damp garments, or sweat from handling transfers before pressing can all interfere with adhesive or dye bonding.
In humid climates, consider running a dehumidifier near your press station. Always pre-press garments to drive out moisture before applying transfers. Store unused transfers in sealed packaging away from moisture and direct sunlight to preserve the adhesive’s integrity before application.
9. Use the Right Protective Sheets
Protective sheets are a simple but essential accessory. Placing a Teflon sheet or parchment paper over your transfer before pressing helps prevent scorching and stops ink from bleeding beyond the design edges. This is especially important when pressing at higher temperatures—such as the 400°F required for sublimation or the ~350°F used for plastisol transfers.
A Teflon cover sheet also protects your platen from adhesive residue and makes cleanup easier. Other useful accessories include heat-resistant tape (to secure transfers before pressing and prevent shifting) and pressing pillows (to maintain even pressure over seams, buttons, or uneven surfaces).
Never press without a protective cover if there’s any risk of ink, adhesive, or vinyl residue contacting your platen directly.
10. Peel Exactly When Recommended
The peel step is where many decorators—even experienced ones—introduce errors. Peeling too early, too late, or at the wrong angle can cause incomplete transfers, ghosting, or edge lifting.
Limitless Transfers are true hot peel, meaning you peel the carrier film immediately after pressing while the transfer is still hot. This is one of their key production advantages: no waiting for cool-down between presses, which significantly speeds up workflow on larger orders.
If your supplier specifies warm peel or cold peel, follow those instructions precisely. Peel slowly and steadily at a low angle (close to 180 degrees, back over itself) rather than pulling upward. A quick, upward pull increases the likelihood of lifting the adhesive layer along with the film.
Photo by Alexey Demidov on Unsplash
11. Be Aware of Polyester-Specific Risks
Polyester requires extra care at the heat press. Because it’s sensitive to heat, pressing at temperatures that are too high can cause scorching, sheen on the fabric surface, or dye migration—where the fabric’s own dye bleeds upward into the transfer or garment surface, leaving discoloration around the design.
To reduce dye migration risk:
- Keep polyester press temperatures as low as the transfer allows (typically 270°F to 285°F for some applications; 280–300°F for most DTF work)
- Use shorter press times where possible
- Consider a dye-migration-blocking underbase for performance fabrics
For sublimation on polyester specifically, the opposite concern applies—you need to reach approximately 400°F for the dye to fully sublimate into the fibers. This is why sublimation is temperature-sensitive in a different way: too low and the transfer fails; too high on sensitive fabrics and you risk damage.
12. Adjust for Light and Dark Fabrics
Dark fabrics absorb more heat than light fabrics, which can cause the effective temperature at the garment surface to run hotter than expected. If you’re pressing the same design on both white and black shirts in the same session, be aware that your results may shift slightly.
On dark or heavy fabrics, check periodically for scorch marks—especially on polyester blends. Reduce temperature slightly or cut press time by a second or two if you notice a sheen appearing on the fabric after pressing.
Also remember: dye-sublimation only produces vibrant, accurate color on white or light-colored polyester and polymer-coated products. On dark fabrics, the dye cannot overpower the base color, and results will be muted or invisible. Always match your transfer method to your substrate for the outcome you need.
13. Learn to Troubleshoot Common Problems
Even with strong habits, problems occur. Here’s a quick reference for the most common heat transfer pressing issues:
- Transfer lifting at edges: Increase pressure slightly or extend press time
- Faded or washed-out colors after washing: Increase temperature or pressure
- Scorch marks on fabric: Lower temperature or reduce press time
- Ghosting or shadow image: Transfer shifted during pressing—use heat-resistant tape to secure it before pressing
- Ink bleeding beyond design edges: Reduce temperature or pressure
- Incomplete transfer: Insufficient heat or uneven pressure—check for cold spots and retest settings
- Dye migration on polyester: Lower temperature, reduce press time, or use a migration-blocking solution
- Uneven results across the platen: Cold spots from damaged platen connections—test with an infrared thermometer and recalibrate or repair
For deeper troubleshooting tips and resources, HeatPressNation maintains a practical heat press temperature guide covering frequent heat transfer problems and their solutions.
14. Keep Your Heat Press Well Maintained
A poorly maintained press produces inconsistent results regardless of how good your technique is. Simple, routine care prevents the most common performance issues.
Daily: Wipe down the upper and lower platens with a lint-free cloth after cooling. Residue and adhesive buildup on the platen leads to uneven pressure and surface defects on finished prints.
Weekly: Clean the heating element with a product specifically designed for heat press surfaces—never use harsh abrasives or oven cleaners, which can damage the element.
Monthly: Test platen temperature accuracy with an infrared thermometer, inspect pressure adjustment mechanisms, and lubricate pivot points on clamshell-style presses with high-temperature lithium grease.
Graphics-Pro has an in-depth maintenance guide that covers daily, weekly, and monthly care routines in detail. One key note: always plug your press directly into a dedicated 20-amp circuit—never into a power strip or extension cord, which can cause voltage drops and inconsistent performance.
15. Invest in Quality Transfers from the Beginning
Application technique matters—but the quality of the transfer itself sets the ceiling for what’s possible. Low-quality transfers with inconsistent adhesive layers, weak ink saturation, or poor white underbase will underperform regardless of how well they’re pressed.
Limitless Transfers produces expanded gamut CMYK+RGBO+W DTF transfers with refined ICC profiles that deliver exceptional color accuracy, vibrant detail, and a premium soft-hand feel. Their true hot peel performance allows instant film removal for faster production without compromising adhesion. They work on virtually any material—cotton, poly, leather, canvas, neoprene, wood, and more—making them compatible with whatever your customers need.
No minimums. Same-day shipping on orders placed by noon EST. Free UPS Ground on orders over $50. The quality is the foundation; the logistics make it practical.
Heat Press Safety: What You Should Never Skip
Heat presses operate at temperatures well above 300°F—hot enough to cause serious burns in an instant. Build these safety habits into your routine from day one:
- Keep children away from the press area at all times. The platen and surrounding surfaces stay dangerously hot even after a session ends.
- Never leave the machine unattended while it’s powered on. A press left closed or left on can damage garments, cause fires, or create burn hazards.
- Always use protective sheets (Teflon or parchment) during pressing to prevent scorching and reduce splatter from adhesive or ink.
- Allow the machine to cool completely before performing cleaning, maintenance, or adjustments.
- Wear heat-resistant gloves when handling transfers or garments immediately after pressing—especially during hot peel steps.
Respecting the machine makes your workspace safer and your results more consistent.
Heat Press Mistakes That Cost Time and Money
Common Beginner Mistakes
- Trusting the temperature display without verification
- Skipping the pre-press step
- Pressing damp garments
- Guessing at pressure settings rather than calibrating
- Skipping test presses on new materials
- Forgetting to use a protective cover sheet
Mistakes Experienced Decorators Still Make
- Applying identical settings to every garment regardless of fabric content or transfer method
- Running production on a press that hasn’t been calibrated recently
- Rushing peel timing to speed up workflow
- Neglecting routine maintenance until performance drops
- Ignoring dye migration risk on polyester fabrics
Why Limitless Transfers Are Designed to Make Pressing Easier
True Hot Peel Saves Time
In production environments, time between presses adds up fast. Transfers that require cooling before peeling create a bottleneck—you either wait, or you press more items and manage multiple cool-down cycles simultaneously.
Limitless Transfers’ true hot peel design eliminates that wait entirely. Peel immediately, move to the next garment, keep production moving. For decorators running large orders, that time savings compounds into a meaningful efficiency advantage by the end of a session.
Premium Quality Means Better Results Across Every Press
Consistent quality in the transfer itself makes application more forgiving. Limitless Transfers’ refined ICC profiles and expanded gamut printing ensure that what you see in the design file is what you get on the garment—accurate color, sharp detail, and a finish that holds through repeat washing.
Their wide material compatibility means one transfer supplier covers your full range of substrates. Cotton runs, polyester jerseys, neoprene items, denim, canvas bags—Limitless Transfers handles all of it without requiring you to source from multiple suppliers or adjust your workflow significantly.
Garment Care After Pressing
Getting the application right is only half the job. How garments are cared for after pressing directly affects how long the design lasts.
As a general rule:
- Wash decorated garments inside out to protect the print from abrasion during the wash cycle.
- Use cold or warm water—avoid hot water washes, which accelerate adhesive breakdown and fade colors faster.
- Avoid high-heat drying if possible; tumble dry on low or air dry to extend print life.
- Do not iron directly on the design. If pressing is needed, use a protective sheet or press from the inside.
These simple care steps help preserve the vibrancy and adhesion of DTF transfers, HTV, and other heat-applied designs through many wash cycles.
Photo by Alexey Demidov on Unsplash
Tips for Scaling From Hobbyist to Professional
Build Consistency Into Every Order
Consistency is what separates hobbyist results from professional-grade output at scale. The decorators who grow successfully treat every order the same way—same pre-press routine, same placement check, same settings verification, same post-press inspection.
Document your most-used settings and post them near your press. Create simple production checklists for common order types. Standardize your workflow so that muscle memory handles the routine, freeing your attention for quality control.
Keep a Settings Log for Different Materials
Every heat press setup is slightly different. Your specific machine, your workspace temperature, your fabric supplier, and your transfer brand all influence what settings work best.
Build a simple log—a spreadsheet or a notepad works fine—recording the material, transfer type, temperature, pressure setting, press time, and results for every new combination you test. Over time, this becomes a personal reference guide that eliminates guesswork and speeds up setup for new orders.
Use Reliable Supplies Every Time
Scaling production while switching between transfer suppliers introduces variability. Different adhesive formulations, different film types, different peel behaviors—each change requires re-testing and recalibration.
Sticking with a trusted source like Limitless Transfers eliminates that variable. Consistent transfer quality means your tested settings stay accurate across orders. Combine that with reliable heat press equipment and your established pressing routine, and waste rates drop while customer satisfaction climbs.
Build Better Habits, Press Better Results
Mastering the heat press isn’t complicated, but it requires discipline. Every tip in this heat press guide points toward the same underlying principle: consistency produces quality. Consistent temperature. Consistent pressure. Consistent preparation. Consistent materials.
The decorators who get the best results—tighter adhesion, sharper colors, longer print life—aren’t doing anything magical. They’ve simply built repeatable habits that remove variables from the process.
Pair those habits with award-winning transfers from Limitless Transfers, and the results follow naturally. Explore their gang sheet builder, browse heat press equipment and supplies, or order a sample pack to see the difference that true hot peel, expanded gamut printing makes firsthand.
Frequently Asked Questions
What should my heat press be set at for DTF transfers?
Settings depend on both the transfer brand and the garment fabric. As a general starting point, most DTF transfers perform well at 300°F to 320°F (150°C to 160°C) with medium-heavy pressure for 10 to 15 seconds. Cotton runs slightly hotter (up to 350°F), while polyester should stay lower (280–300°F) to prevent scorching. Always follow the specific instructions provided by your transfer supplier, and test before running full production.
How do DTF transfers differ from sublimation and HTV in terms of press time?
DTF transfers generally require less press time than sublimation. Most DTF transfers on standard fabrics press in 10 to 15 seconds. Sublimation on polyester typically requires 35 to 50 seconds at around 400°F for the dye to fully bond with the fibers. HTV varies significantly by brand—pressing times can range from as few as 4 seconds to as long as 30 seconds. Always follow the manufacturer’s recommended press time for the specific product you’re using.
How do you use a heat press step by step?
The basic sequence: (1) Pre-press the garment for 5 to 10 seconds to remove moisture and flatten fibers. (2) Position the transfer on the garment using alignment tools. (3) Optionally secure the transfer with heat-resistant tape to prevent shifting. (4) Cover the design with a Teflon or parchment sheet. (5) Close the press and apply the recommended temperature and pressure for the specified time. (6) Open the press and peel the carrier film—immediately for hot peel transfers, or after cooling for cold peel. (7) Perform a finishing press with a cover sheet if recommended for your transfer type. (8) Allow the garment to cool before folding or stacking.
How long should I heat press 100% cotton?
For DTF transfers on 100% cotton, the typical press time is 10 to 15 seconds at 320°F to 350°F with medium to heavy pressure. For cotton HTV, the range is similar: 305°F to 320°F for 10 to 15 seconds. Always defer to your specific transfer manufacturer’s instructions. Pressing too long can cause color distortion or fabric damage.
How hot should a heat press be for T-shirts?
The ideal temperature depends on both the shirt material and the transfer method. Cotton T-shirts generally press well at 320°F to 350°F for DTF and HTV. Polyester or performance shirts require lower temperatures—typically 270°F to 300°F depending on the method—to prevent scorching, sheen, or dye migration. Sublimation is the exception: it requires approximately 400°F even on polyester. When pressing an unfamiliar garment, start at the lower end of the recommended range and adjust upward in 10°F increments based on results.
Is sublimation or DTF better for my needs?
It depends on your substrate and goals. Sublimation produces vibrant, breathable results but only works effectively on white or light-colored polyester and polymer-coated products—and requires higher heat (around 400°F) and longer press times (35–50 seconds). DTF transfers work on almost any fabric in any color, require less press time, and deliver a soft-hand feel with excellent color accuracy. For most garment decorators working across a variety of fabrics, DTF offers more flexibility.