
Do you know how to press DTF transfers?
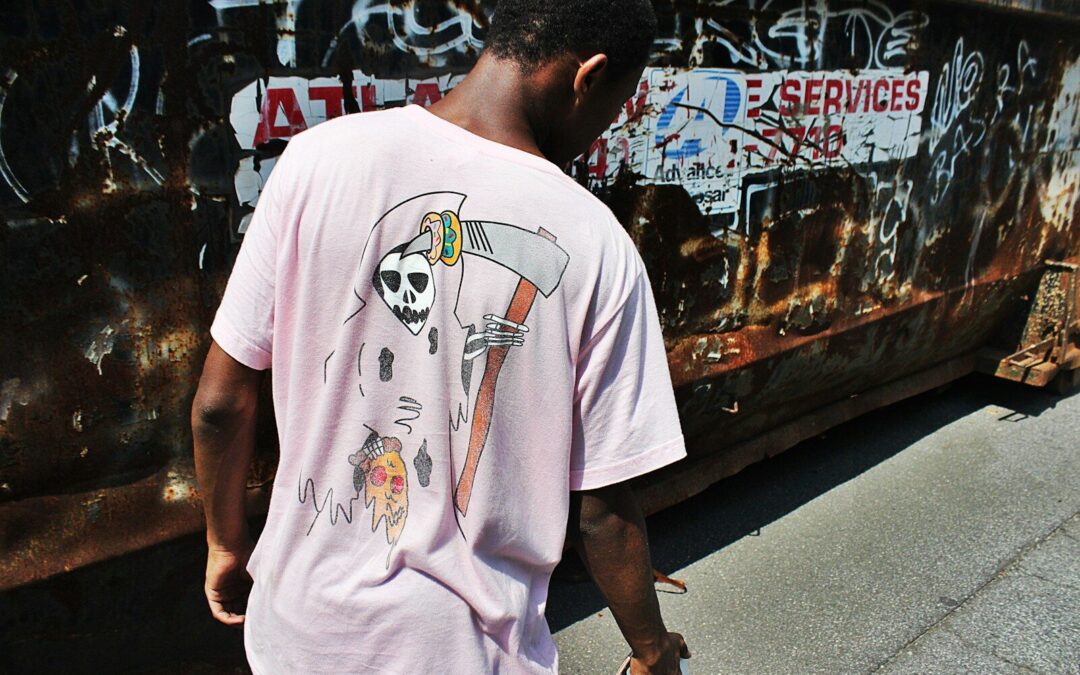
Direct to Film (DTF) transfers have become a game-changer for DIY enthusiasts aiming to create vibrant, durable, and high-resolution designs on garments and other surfaces. Whether you’re personalizing t-shirts for friends or launching your small custom-print business, mastering DTF transfers is key to achieving professional-quality results. DTF prints are durable, lasting for over 50 washes without notable fading or cracking when applied correctly.
This guide walks you through everything you need to know about pressing DTF transfers, from preparation to troubleshooting and advanced techniques for specialty fabrics.
Introduction to DTF Transfers
DTF (Direct to Film) transfers have revolutionized the way we print designs on garments, offering a vibrant, high-quality, and durable alternative to traditional methods like screen printing and heat transfer vinyl. If you’re new to DTF transfers, you’re in for a treat. This innovative process allows you to create stunning, full-color designs with ease.
The magic of DTF transfers begins with printing your design onto a special film using a 4-color process. This film is then coated with a powdered adhesive and cured in a dryer, creating a ready-to-use transfer. When you’re ready to apply your design, simply use a heat press to transfer the image onto your garment. The result? A vivid, durable print that can be applied to a variety of fabrics, including cotton, polyester, and blends.
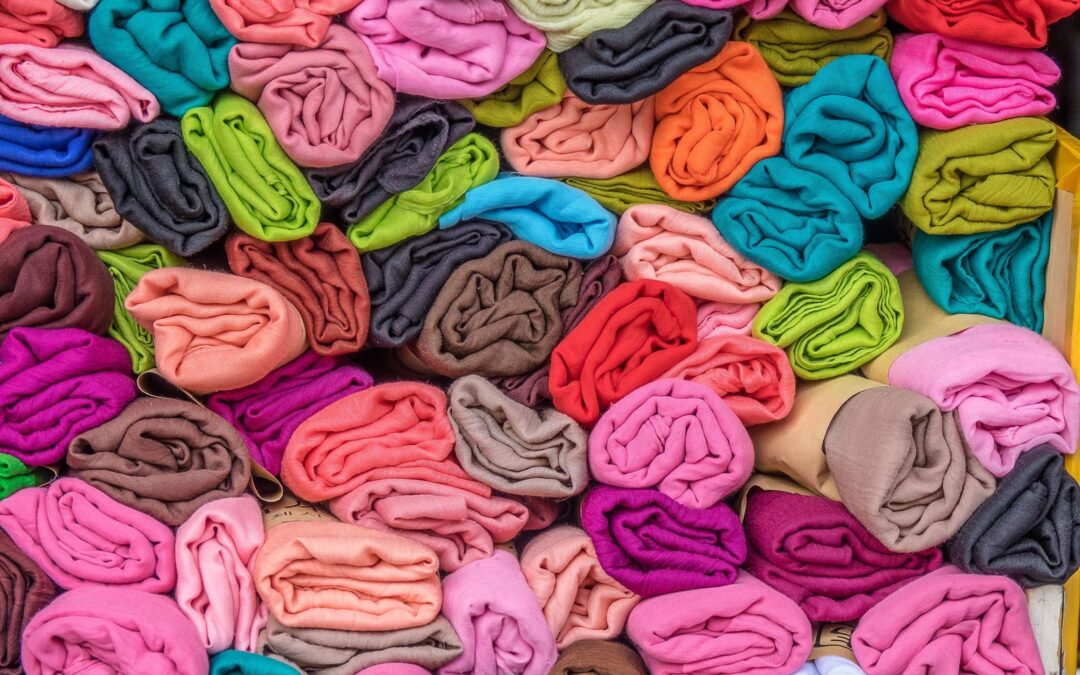
DTF transfers are incredibly versatile and can be used on a wide range of surfaces, making them a popular choice for DIY enthusiasts and small businesses alike. Whether you’re customizing t-shirts, tote bags, or even shoes, DTF transfers offer consistent, professional-quality results that are sure to impress.
What Are DTF Transfers?
DTF, or Direct to Film, is a printing process where designs are printed on a special film using a 4-color process, then coated with a powder adhesive and cured. The film can later be heat-pressed onto various materials, producing vivid colors and durable prints. To apply DTF transfers, you need to use a heat press with the correct temperature and pressure settings for optimal results.
DTF transfers stand out because they:
- Work on a wide variety of surfaces, including cotton, polyester, nylon, leather, and even wood.
- Deliver high-resolution and full-color designs with unmatched vibrancy.
- Are easy to produce, making them an excellent choice for DIYers and small-scale businesses.
Why Choose DTF?
For DIY enthusiasts, DTF transfers provide a flexible, affordable, and versatile solution for customizing clothing and accessories. Whether you’re working on t-shirts, tote bags, hats, or shoes, DTF offers consistent, quality results.
Preparing for DTF Transfer Pressing
Preparation is everything if you want your transfer to look flawless. Follow these steps to set yourself up for success:
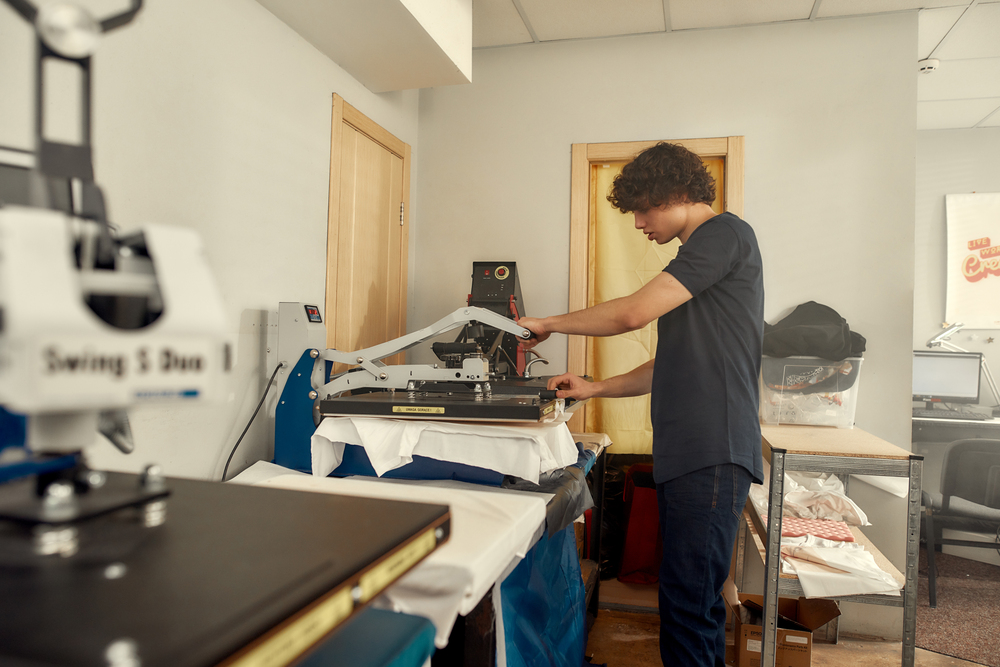
1. Clean Your Heat Press Machine
Ensure your heat press machine is free of debris, adhesive residue, or any build-up that could affect the print quality or bonding process. A clean machine ensures optimal heat and pressure distribution.
2. Set the Correct Temperature
Using a heat press with temperature control is essential for achieving high-quality results with DTF transfers. Most heat press DTF transfers require a heat setting between 300°F and 320°F (160°C). Adjust your heat press accordingly, and allow it to preheat for a few seconds before use.
3. Prepare Your Workspace
Cover your heat press platen with parchment paper or a silicone mat. This prevents any adhesive from sticking to your equipment and keeps your workstation tidy.
4. Inspect Your Heat Press
Check that your heat press is calibrated and in good working condition. Uneven pressure or faulty temperature controls can compromise your design’s quality.
5. Pre-Press Your Garment
Before applying the transfer, place your garment on the heat press machine’s lower plate and give it a quick pre-press. This smooths out wrinkles and removes excess moisture, ensuring an even surface.
Applying DTF Transfers
Once you’ve prepped your workstation and garment, follow these steps for a flawless application:
1. Position the Transfer
- Peel the backing off your DTF transfer.
- Place the transfer on your garment, design side down, ensuring it’s properly aligned.
- Smooth out any wrinkles to guarantee consistent printing.
2. Protect Your Transfer
Use Teflon sheets or parchment paper to cover the transfer and surrounding fabric. Teflon sheets provide a glossy finish but can sometimes hinder heat transfer efficiency, leading to application problems. This prevents the transfer material from sticking to the heat press platen and ensures even heat distribution.
3. Adjust Pressure and Time
- Apply medium pressure (30-60 PSI) for 12-15 seconds.
- Ensure the heat press covers the entire transfer area for consistent results.
4. Peel the Carrier Film
- If the transfer is a hot peel, wait a few seconds before carefully peeling away the carrier film while it’s still warm.
- For a cold peel, allow the garment to cool completely before removing the carrier sheet.
5. Inspect the Transfer
Once the film is peeled, check for proper adhesion. If any section hasn’t bonded well, re-press the garment with the same settings for a few additional seconds.
Pressing Techniques for Perfect Results
Achieving perfect results with DTF transfers requires a careful balance of heat, pressure, and time. The ideal temperature for pressing DTF transfers can vary depending on the type of fabric and the specific transfer you’re using. Generally, most DTF transfers are pressed at temperatures between 275°F to 320°F (135°C to 160°C). It’s crucial to follow the manufacturer’s instructions for the best results.
Using a heat press with a temperature control feature is essential for ensuring that your transfer is pressed at the correct temperature. This precision is key to achieving a high-quality print that adheres properly to the fabric.
When it comes to pressure, aim for a medium to high setting, depending on the type of transfer and garment. It’s also important to use a Teflon sheet or parchment paper to cover the transfer and protect it from sticking to the heat press. This not only ensures even heat distribution but also prevents any potential damage to your design.
By paying attention to these pressing techniques, you can achieve flawless results with your DTF transfers every time.
Post-Pressing and Finishing
After pressing your DTF transfer, there are a few additional steps to ensure a professional-quality finish. These post-pressing and finishing techniques will help you achieve a durable and vibrant design that stands the test of time.
1. Finalize the Transfer
Once you’ve pressed the transfer, allow it to cool for a few seconds. Then, carefully peel off the transfer paper at a 45-degree angle. If you notice that the transfer hasn’t fully adhered to the garment, don’t worry. Simply use your heat press to re-press the transfer, ensuring it bonds completely.
2. Ensure Proper Adhesion
To guarantee proper adhesion, it’s essential to remove any excess moisture from the garment. You can use a lint roller or a clean cloth to do this. Afterward, apply a post-press to the transfer to ensure it’s fully adhered to the fabric. This step is crucial for achieving a professional finish and ensuring the longevity of your design.
By following these post-pressing and finishing steps, you can ensure that your DTF transfers look their best and last for a long time. Remember to always follow the manufacturer’s instructions for the specific transfer you’re using and to use a heat press with a temperature control feature for optimal results.
Troubleshooting Common Issues
Even with the best practices, issues can arise. Here’s how to address some common challenges:
1. Over-Pressing
Pressing for too long or at too high a temperature can cause transfers to become brittle, crack, or peel over time. Signs of over-pressing include faded colors or stiff designs.
Solution: Stick to the recommended pressing time and temperature.
2. Poor Adhesion
Excess moisture or uneven pressure can result in designs that don’t fully adhere to the fabric.
Solution: Preheat your garment to remove moisture, and ensure your heat press is properly calibrated.
3. Transfer Lifting or Cracking
If your transfer lifts during the peel or cracks after washing, reevaluate your pressing time, temperature, or pressure settings.
Solution: Follow your transfer manufacturer’s specific pressing instructions carefully.
Advanced Tips for Specialty Fabrics and Multi-Layer Printing
Taking your DTF transfer skills to the next level? Here’s what you need to know for specialty projects:
1. Printing on Performance Fabrics
Moisture-wicking and textured materials require lower temperatures and longer pressing times. Always test a small area before applying the full transfer.
2. Using a Heat Press Pillow
For surfaces like hats, shoes, or other textured fabrics, a heat press pillow helps distribute pressure evenly, ensuring flawless results.
3. Layering Transfers
Experiment with multi-layer designs to create depth and texture. Press each layer lightly, then press the final design for the full duration to set all layers.
Caring for Your DTF Transfers
After finishing your project, proper care is essential to preserve your work. Follow these tips to maintain the vibrancy and durability of your designs:
- Wash garments inside out in cold water on a gentle cycle.
- Avoid using bleach or harsh detergents.
- Hang dry your garments or use a low-heat setting on your dryer.
- Store unused DTF transfers in a cool, dry place to maintain their adhesive quality.
Why Practice Makes Perfect
Mastering DTF transfers requires patience and practice. Test different heat press settings, experiment with various materials, and refine your techniques to achieve consistent, professional results.
Each step in this process contributes to the quality of your final product—from pre-pressing your garment to peeling the carrier film. Pay attention to details, and don’t be afraid to learn from minor mistakes along the way.

Final Thoughts on DTF Transfers
DTF transfers offer a versatile, durable, and vibrant solution for DIY projects and small-scale businesses. By following the proper pressing instructions, addressing common problems, and practicing your technique, you’ll be well on your way to creating stunning custom garments.
Whether it’s t-shirts, hats, or non-traditional surfaces like leather or wood, DTF printing opens up endless possibilities for creativity. If you’re ready to explore the full potential of DTF, grab your heat press machine, prep your materials, and start pressing!
Mastering DTF takes practice, but the results are worth the effort. Why not share your first project with friends—or even start selling your designs? With the right tools and techniques, the possibilities are truly limitless.
Resources | How To Press DTF Transfers
To further enhance your knowledge and expertise in DTF printing, here are some valuable resources to explore:
-
DTF Printing: The Ultimate Guide – A comprehensive guide that covers everything you need to know about DTF printing, from the basic process to troubleshooting common issues.
-
DTF Printing Tips and Tricks – Discover insider tips and tricks to take your DTF printing skills to the next level, including techniques for achieving vibrant colors and crisp details.
-
DTF Printers and Supplies – Explore a curated list of recommended DTF printers, inks, and other supplies to ensure optimal results in your DTF printing projects.
-
DTF Printing Community – Connect with fellow DTF printing enthusiasts, share ideas, and seek advice in this vibrant online community dedicated to the art of DTF printing.
-
DTF Printing Troubleshooting Guide – Gain insights into common issues that may arise during the DTF printing process and learn effective troubleshooting techniques to overcome them. This comprehensive guide will equip you with the knowledge and strategies to tackle challenges and ensure smooth and successful DTF printing outcomes.
-
DTF Printing Tips and Tricks Blog – Stay updated with the latest trends, techniques, and hacks in the world of DTF printing through this informative blog. Discover expert advice, innovative ideas, and practical tips to enhance your DTF printing skills and achieve outstanding results.
-
DTF Printing Video Tutorials – Visual learners will appreciate this collection of video tutorials that provide step-by-step guidance on various aspects of DTF printing. From setting up your printer to optimizing color saturation, these tutorials offer valuable insights and demonstrations to help you master the techniques of DTF printing.
-
DTF Printing Equipment Reviews – Make informed decisions about the best DTF printing equipment for your needs by referring to unbiased equipment reviews. This resource offers comprehensive evaluations and comparisons of DTF printers, heat presses, and other essential tools, helping you make the right choices for your DTF printing setup.
Remember, continuous learning and experimentation are key to mastering DTF printing. These resources will serve as valuable references and sources of inspiration as you embark on your DTF printing journey. Happy printing!